Using the Move2Kube VSCode Extension
Description
Similar to the command line tool, Move2Kube VSCode extension can also be used to do the transformation. The extension has the capabilities that are in the command line tool. Additionally, it has some quick commands to easily generate helm-charts. This document explains the steps to use the extension for transformation.
Prerequisites
-
Install the Move2Kube CLI tool. Make sure the cli is added to
path. -
Install the Move2Kube VS Code extension. You can also find the extension by opening
Extensionpanel and typeMove2Kube. -
We will use language-platforms sample. The
language-platformsdirectory has a combination of multiple applications in different languages (Java, Go, Python, Ruby, etc.) which need to be containerized and deployed to Kubernetes.
Steps to use the extension to do a transformation
- Download the language platforms sample. Each directory contains a simple web application written in different languages.
$ curl https://move2kube.konveyor.io/scripts/download.sh | bash -s -- -d samples/language-platforms -r move2kube-demos $ ls language-platforms django golang java-gradle java-gradle-war java-maven java-maven-war nodejs php python ruby rust - Open vscode in the same location where the language-platforms folder is present.
$ code . -
Open the file explorer. We can see the
language-platformsfolder in the explorer. We will run transformations on this directory.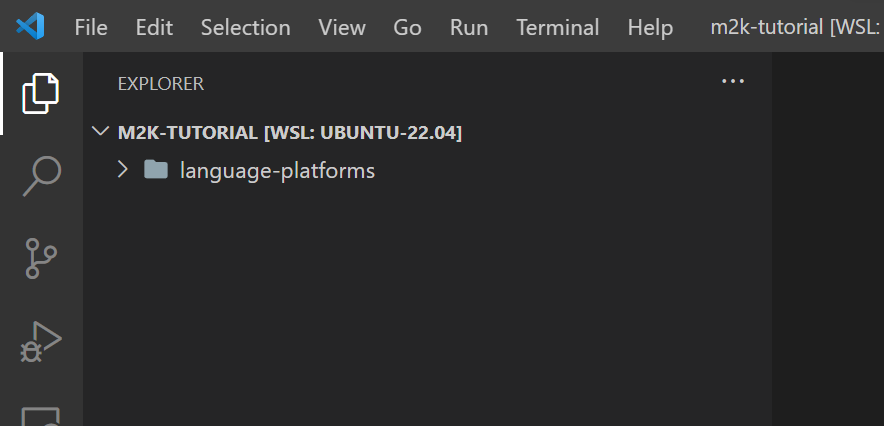
-
To run transformation,
right-clickonlanguage-platformsfolder. TheMove2Kubeextension’s commands will appear in the menu. For transformation, selectMove2Kube: Run Transformfrom the menu.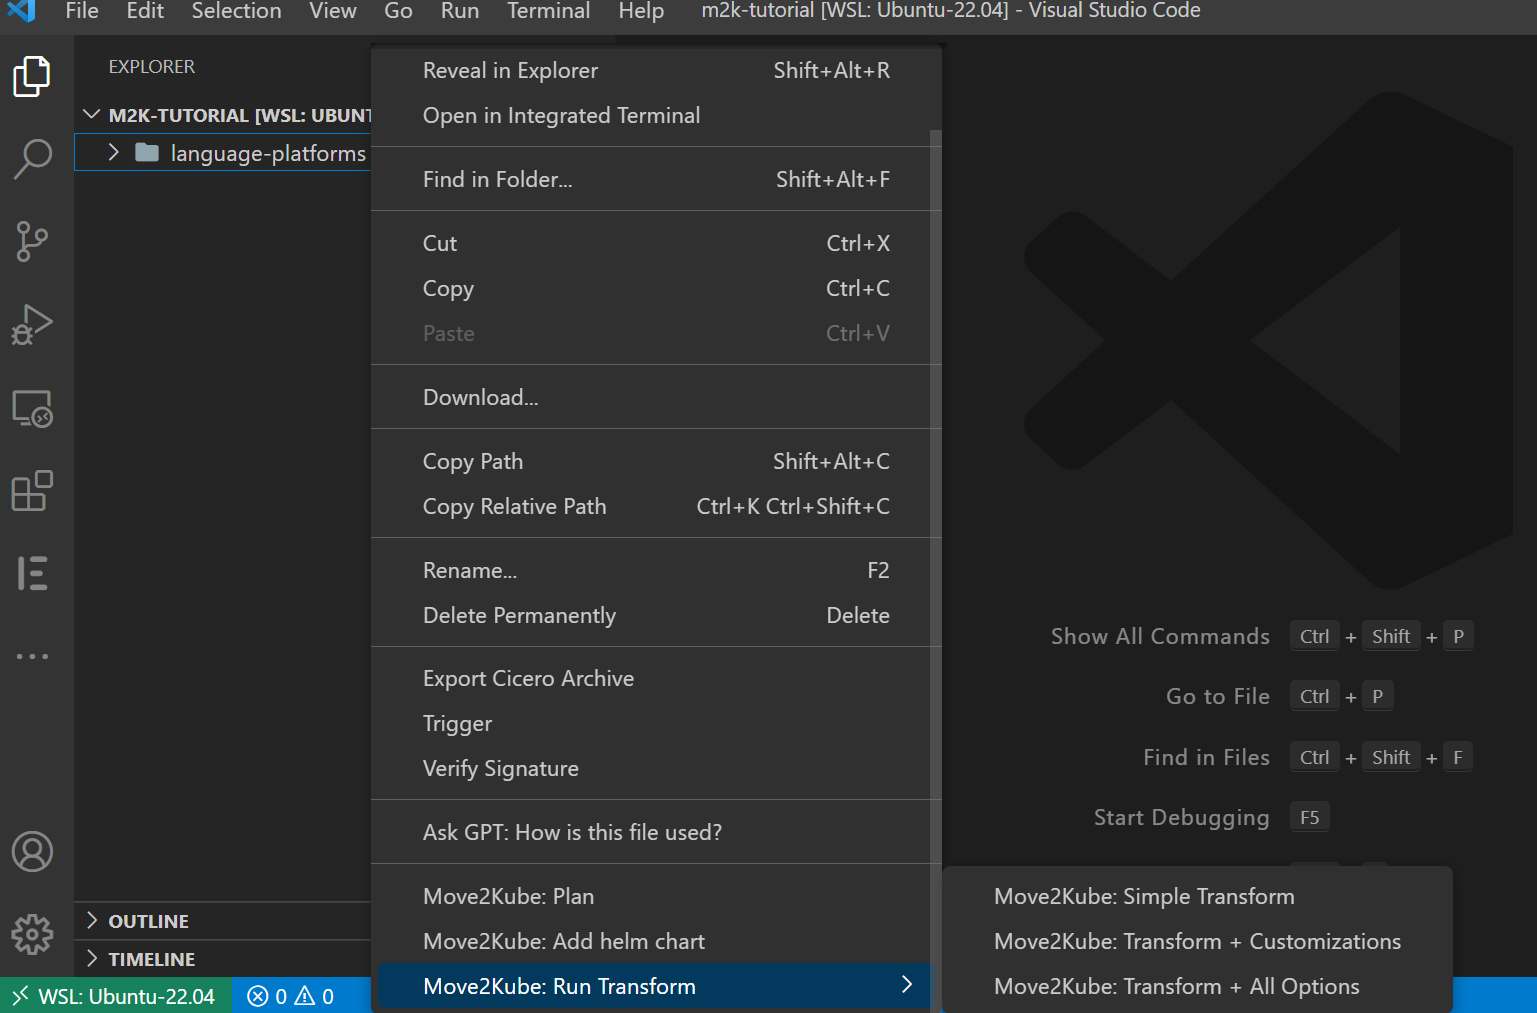
-
Three sub-menu options will appear. You can choose
Move2Kube: Transformation + All Optionsfor using all options available for transformation. For this tutorial, selectMove2Kube: Simple Transformation. Once, you click on this, the extension will begin the transformation process. -
Move2Kube will ask some questions to aid in the transformation process.It has three options and user can choose accordingly.
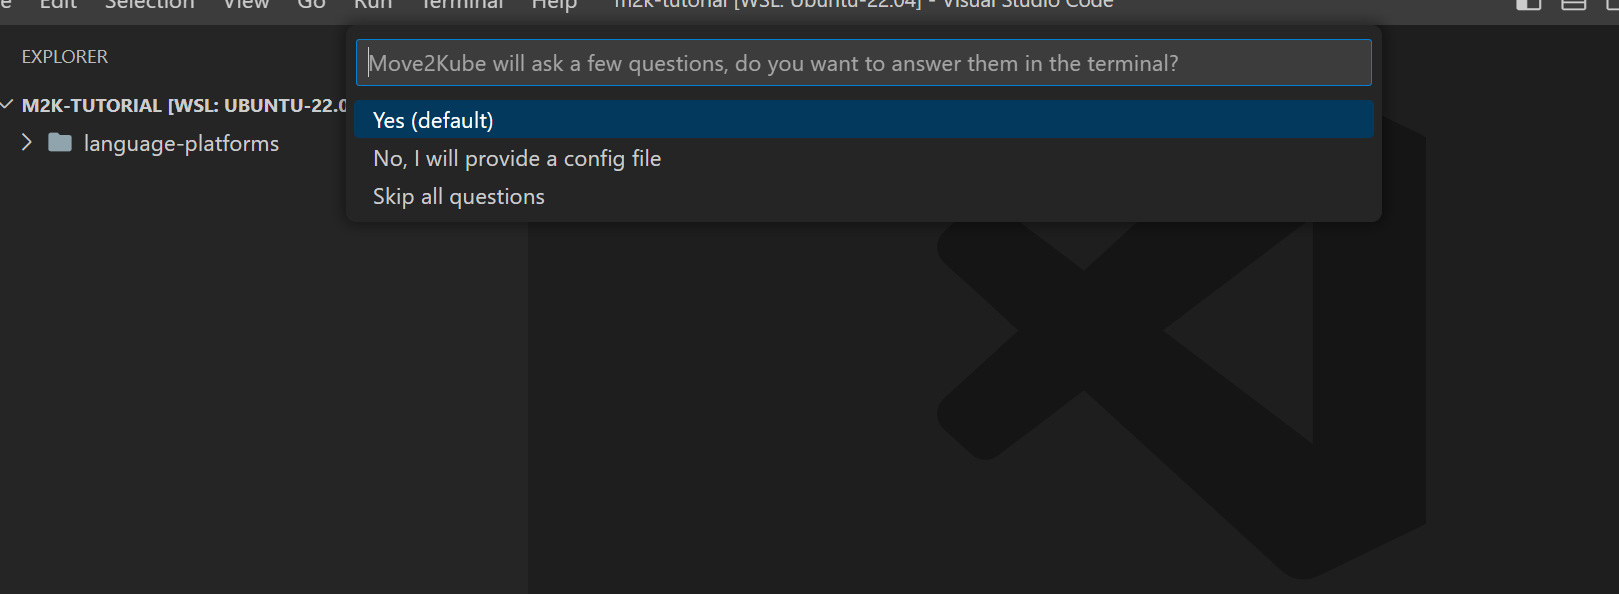
-
For the tutorial, select
Yes(default)to answer them in terminal. This will then pop up a terminal in the screen with the questions.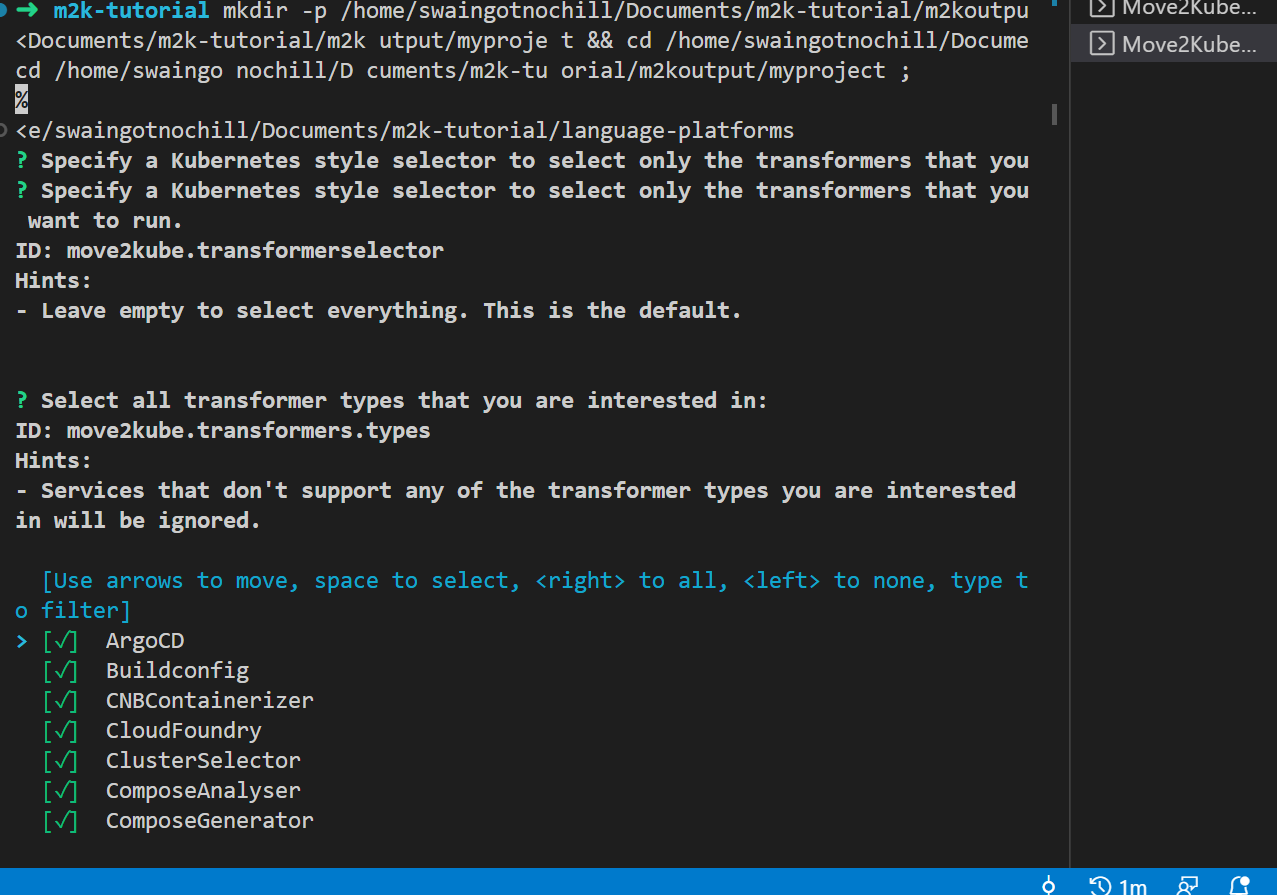
For most questions we can go with the default answers. Some questions to watch out for are:
- The container registry and namespace that you want to use. A container registry is where all the images are stored (Example: Quay, Docker Hub, etc.)
- The ingress hostname and ingress TLS secret. If you are deploying to MiniKube then give
localhostas the ingress host and leave the TLS secret blank.
-
After the questions are finished, wait a few minutes for it to finish processing. Once the processing is done, we can see a new output folder
m2koutputbeing generated in the file explorer.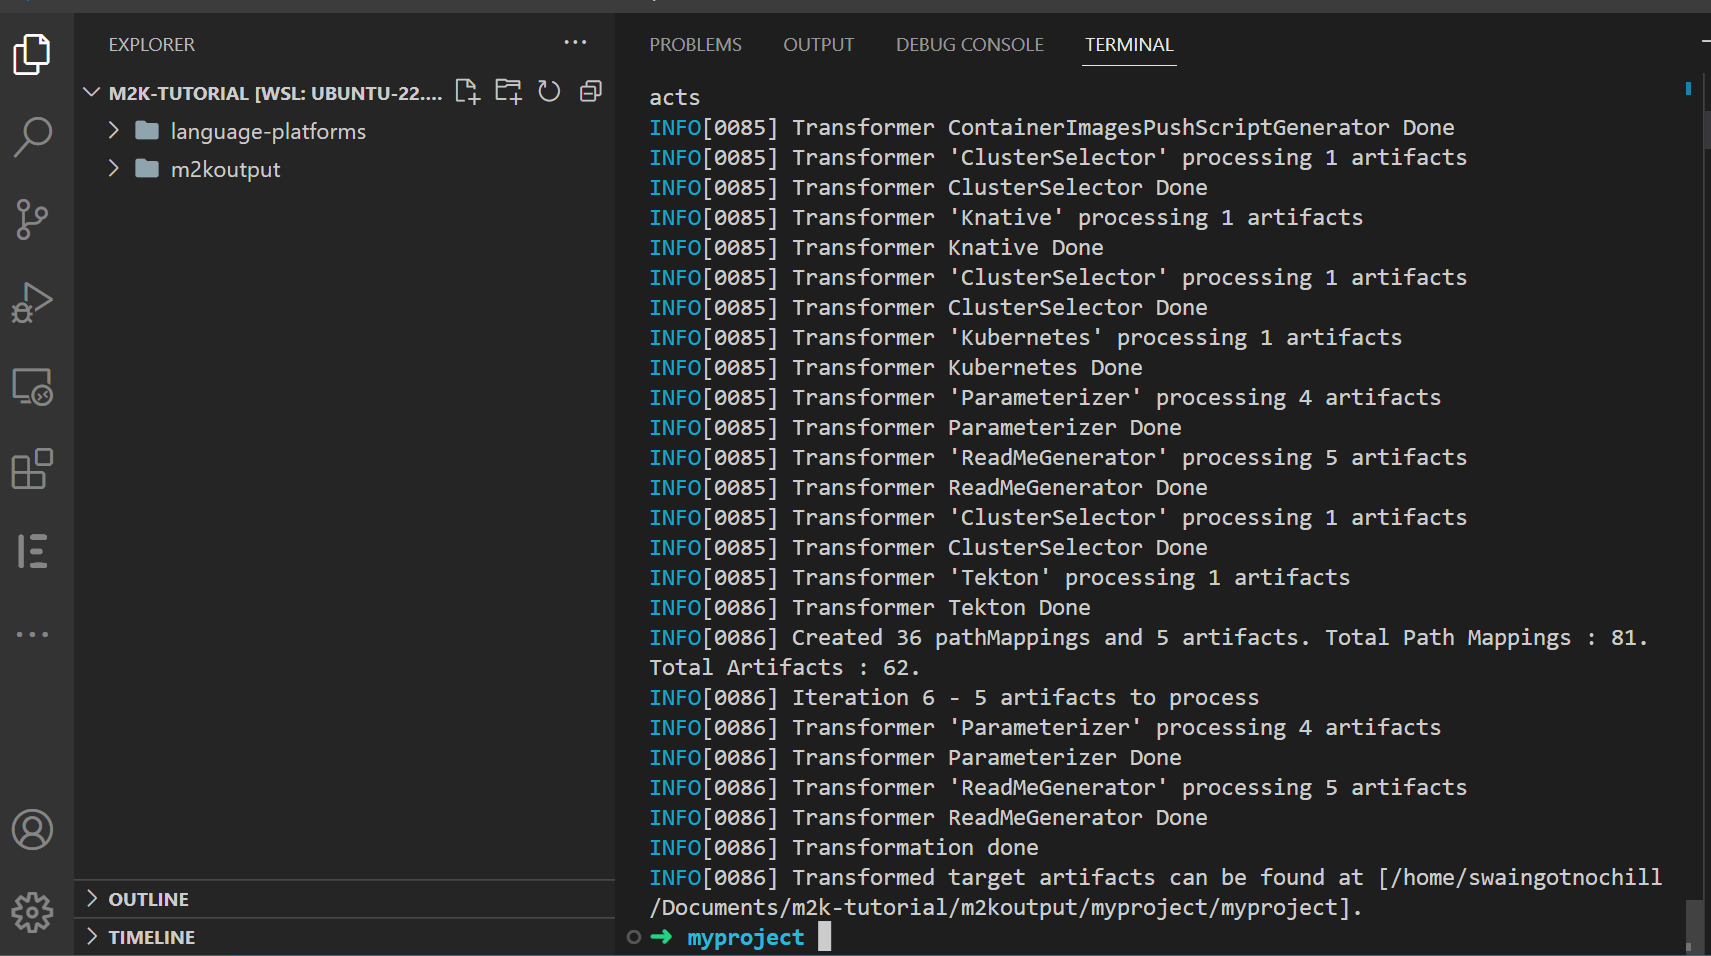
-
If we take a look at the generated folder, we can find
deploy,scriptsand otherconfigurationfiles being generated through the transformation process.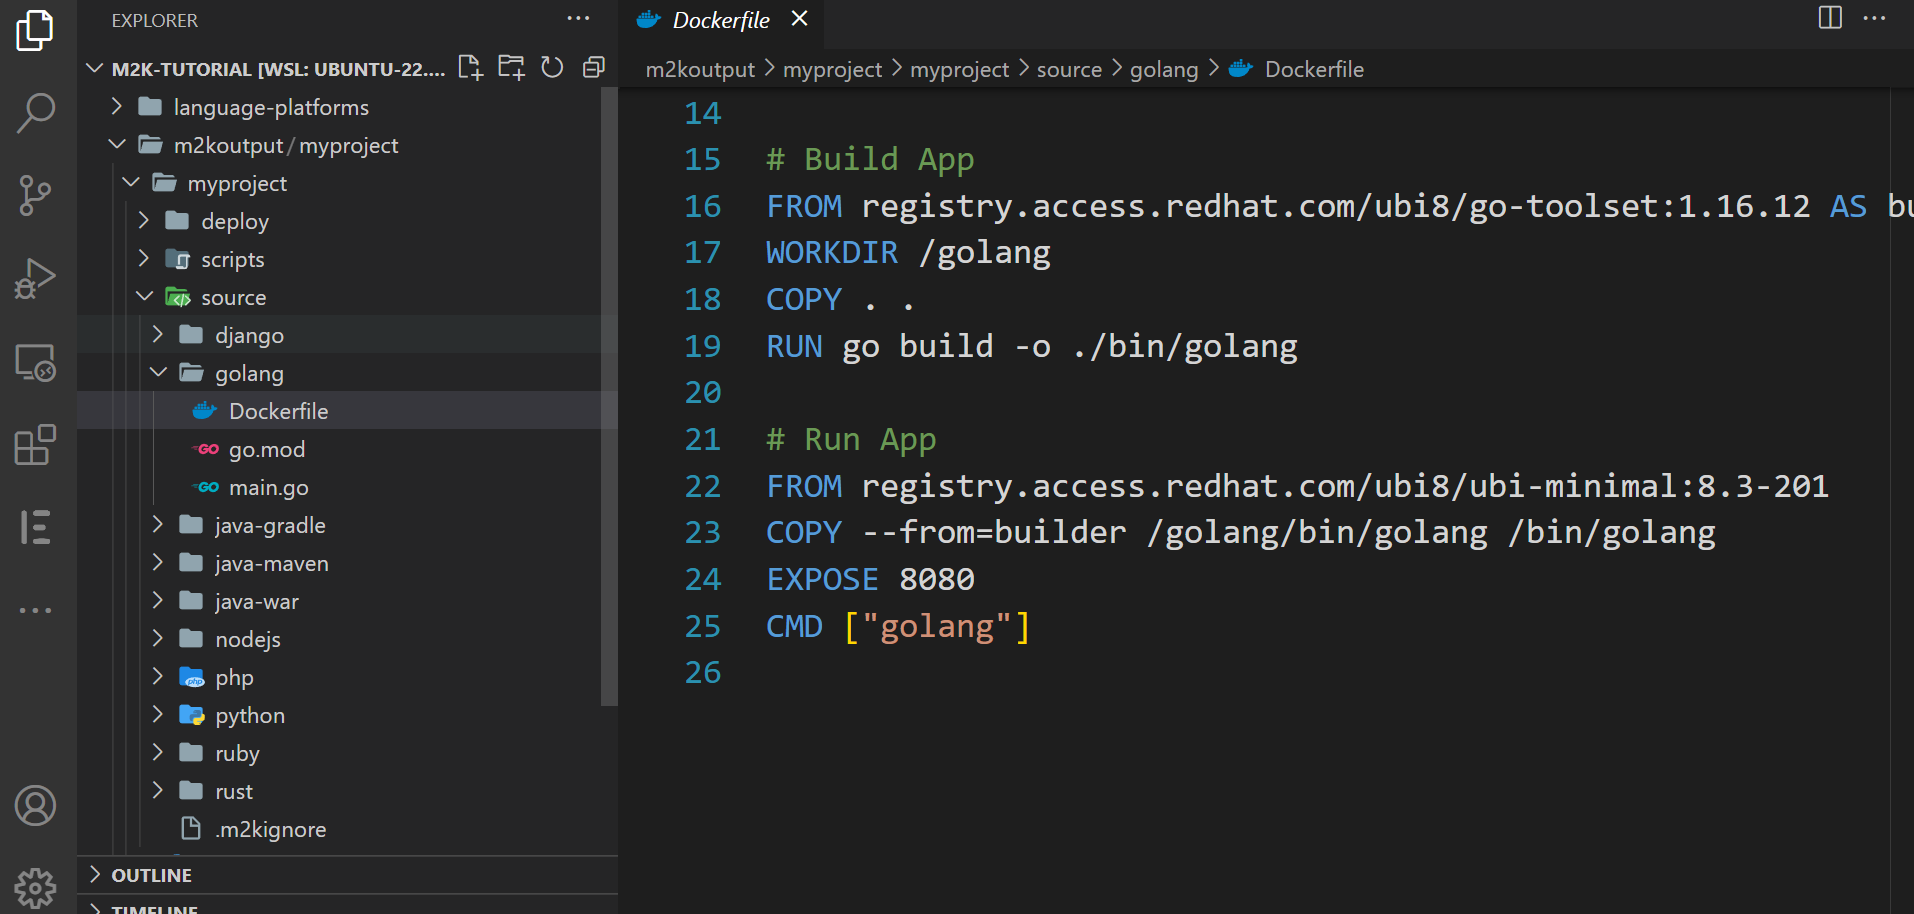
The applications now can be deployed to Kubernetes using these generated artifacts. We can build and push the container images and deploy to Kubernetes using the output generated. The steps for doing that are same as for the CLI Tutorial.
Conclusion
We have seen how easy it is to do a transformation using the extension. All the features of Move2Kube transformation is available in the extension.
In addition, the extension has Move2Kube: Add helm chart option to generate helm charts within the source directory.