Using the Move2Kube UI
Description
Similar to the command line tool, Move2Kube Web-UI can also be used to do the transformation. The Web-UI has all the capabilities that are there in the command line tool. This document explains the steps to bring up the UI and backend using docker and use it for transformation.
Prerequisites
-
Install Docker.
-
We will use language-platforms sample. The language-platforms file has a combination of multiple applications in different languages (Java, Go, Python, Ruby, etc.) which needs to be containerized and then put into Kubernetes.
Steps to use the UI to do a transformation
- Download the language platforms sample as a zip.
$ curl https://move2kube.konveyor.io/scripts/download.sh | bash -s -- -d samples/language-platforms -r move2kube-demos -z $ ls language-platforms.zip - Do a
docker run --rm -it -p 8080:8080 quay.io/konveyor/move2kube-ui.$ docker run --rm -it -p 8080:8080 quay.io/konveyor/move2kube-ui INFO[0000] Starting Move2Kube API server at port: 8080It starts a container using the Move2Kube UI image on port
8080.# Optionally if you need persistence then mount the current directory: $ docker run --rm -it -p 8080:8080 -v "${PWD}/move2kube-api-data:/move2kube-api/data" quay.io/konveyor/move2kube-ui:latest # And if you also need more advanced features of Move2Kube then mount the docker socket. This will allow Move2Kube to run container based transformers: $ docker run --rm -it -p 8080:8080 -v "${PWD}/move2kube-api-data:/move2kube-api/data" -v //var/run/docker.sock:/var/run/docker.sock quay.io/konveyormove2kube-ui:latest -
Open http://localhost:8080 in your browser.
-
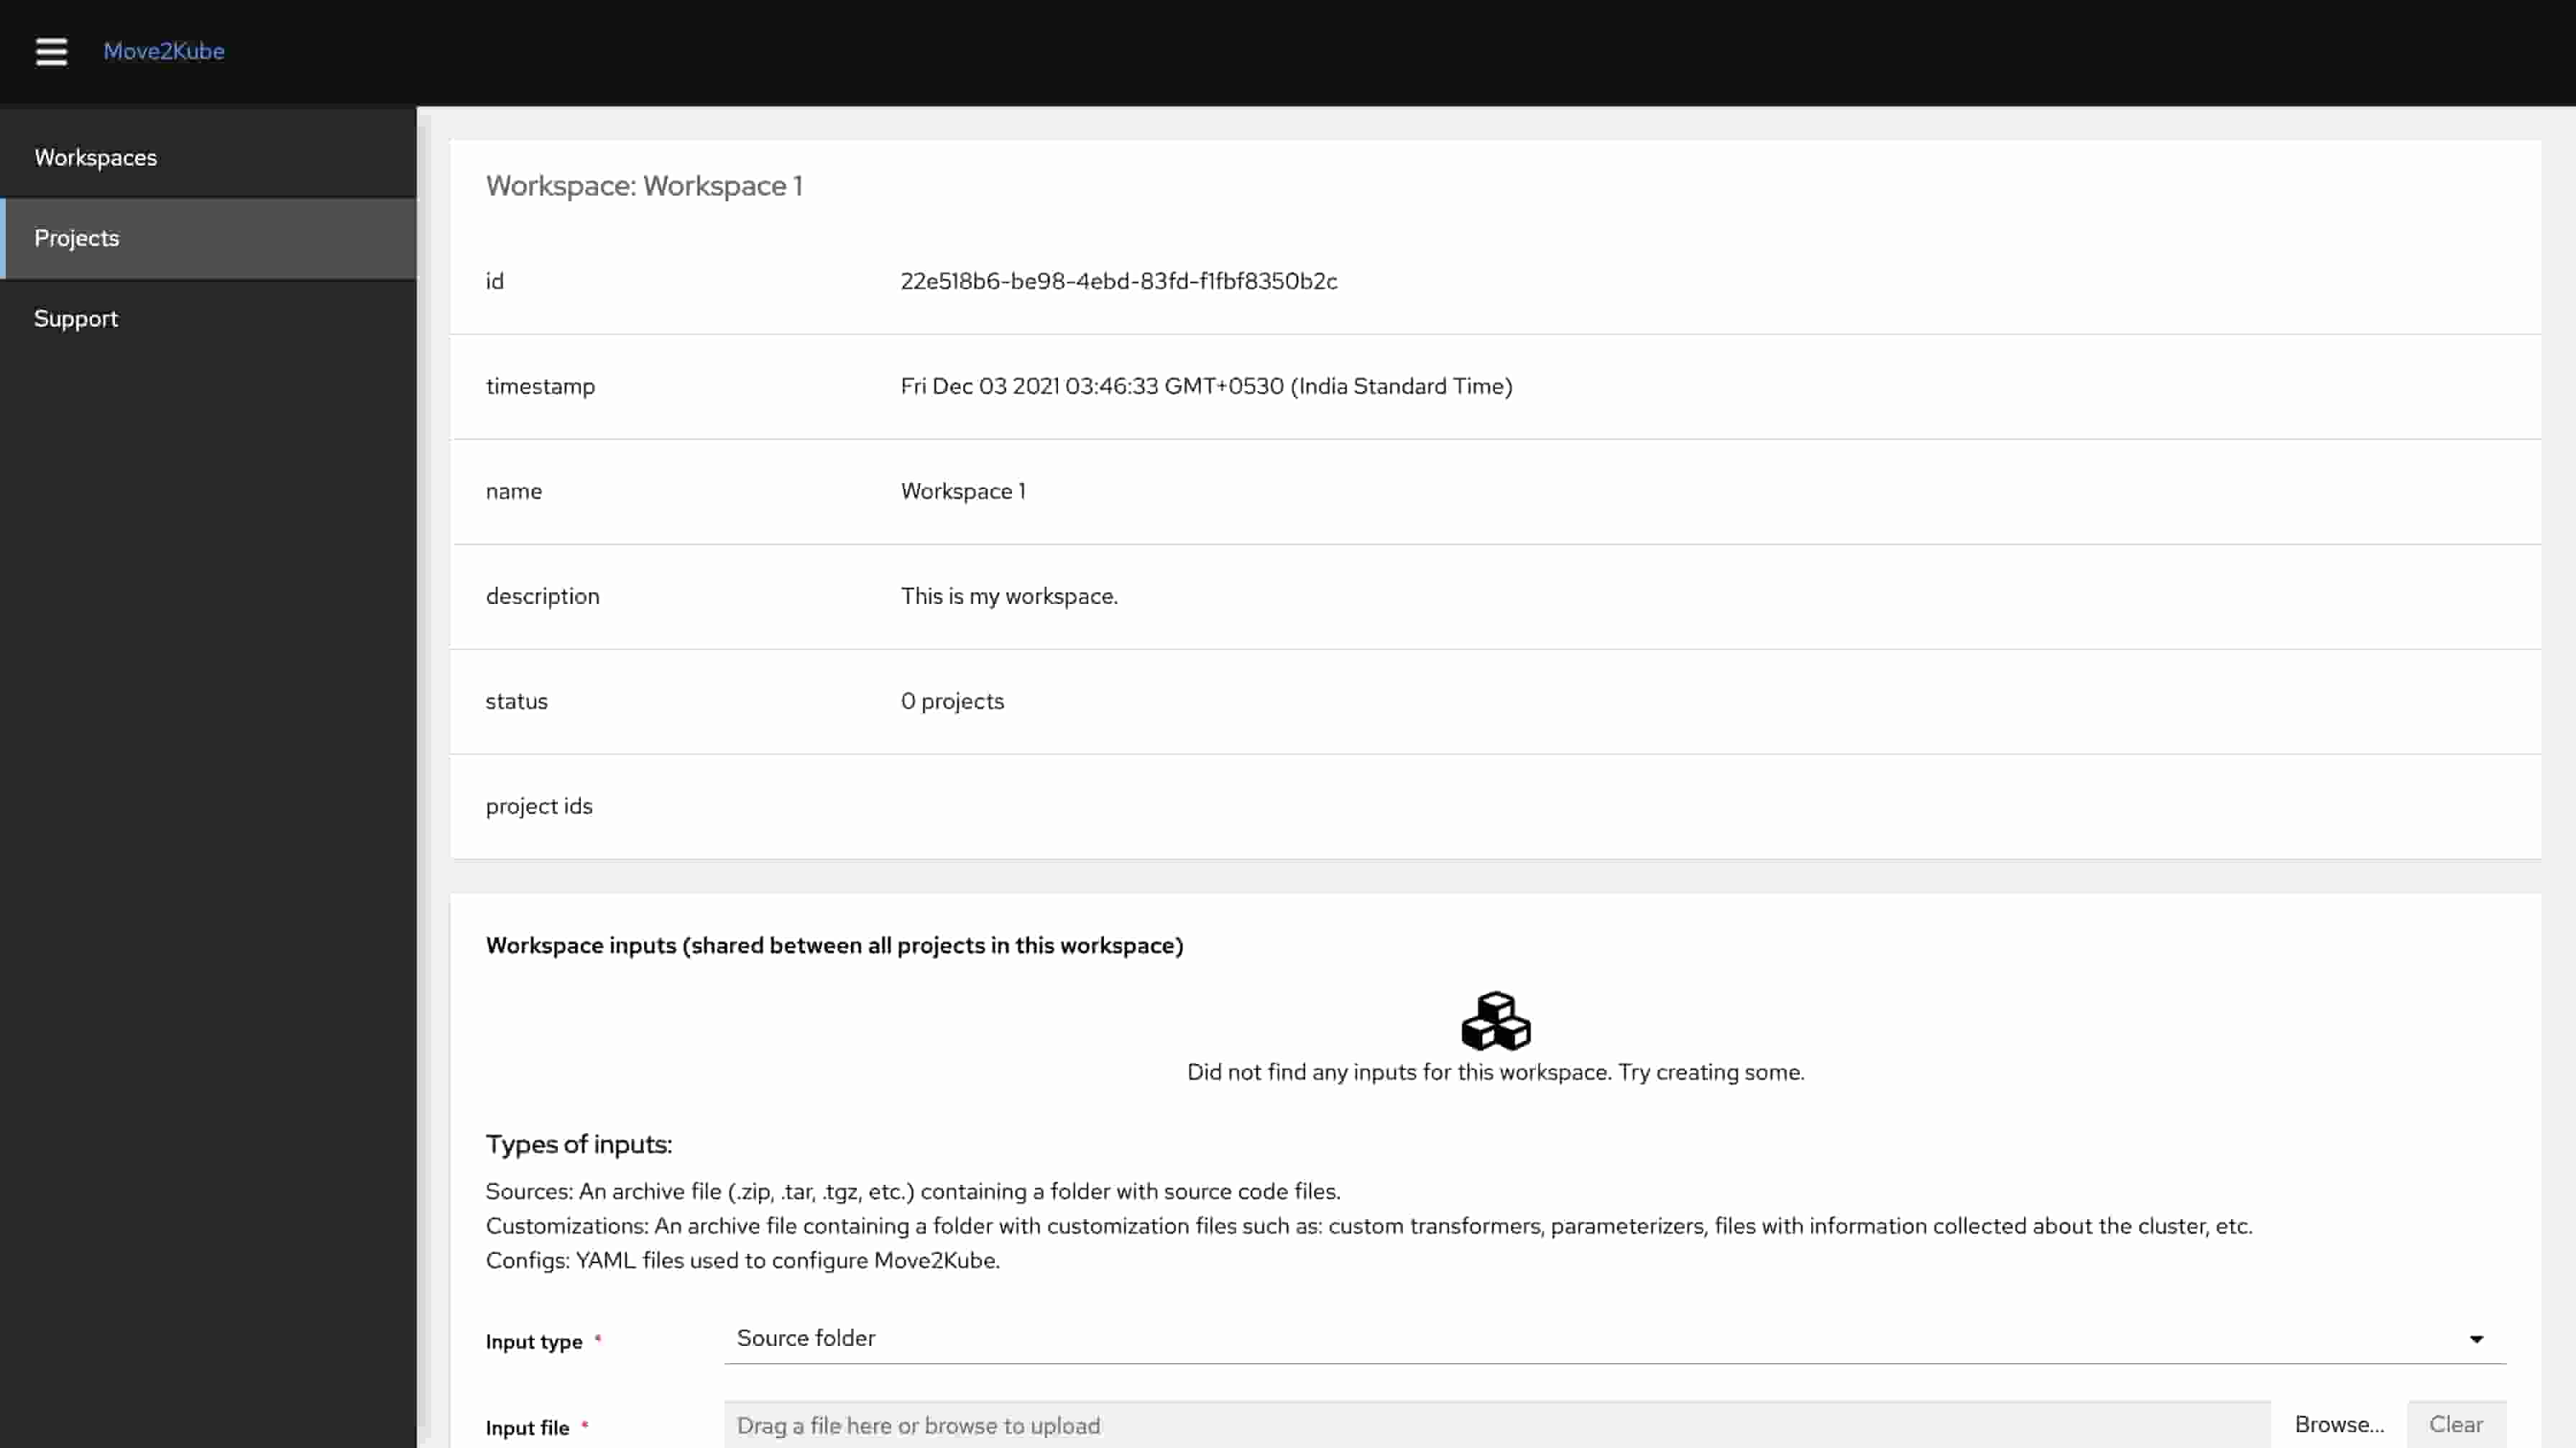
Create a new workspace
Workspace 1by clicking on theNew Workspacebutton.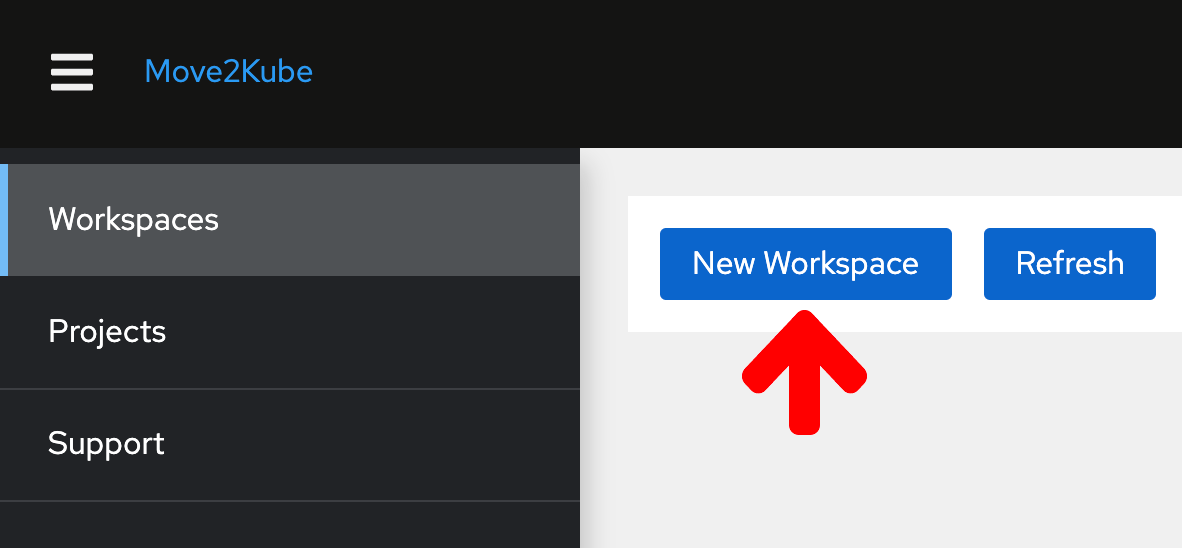

-
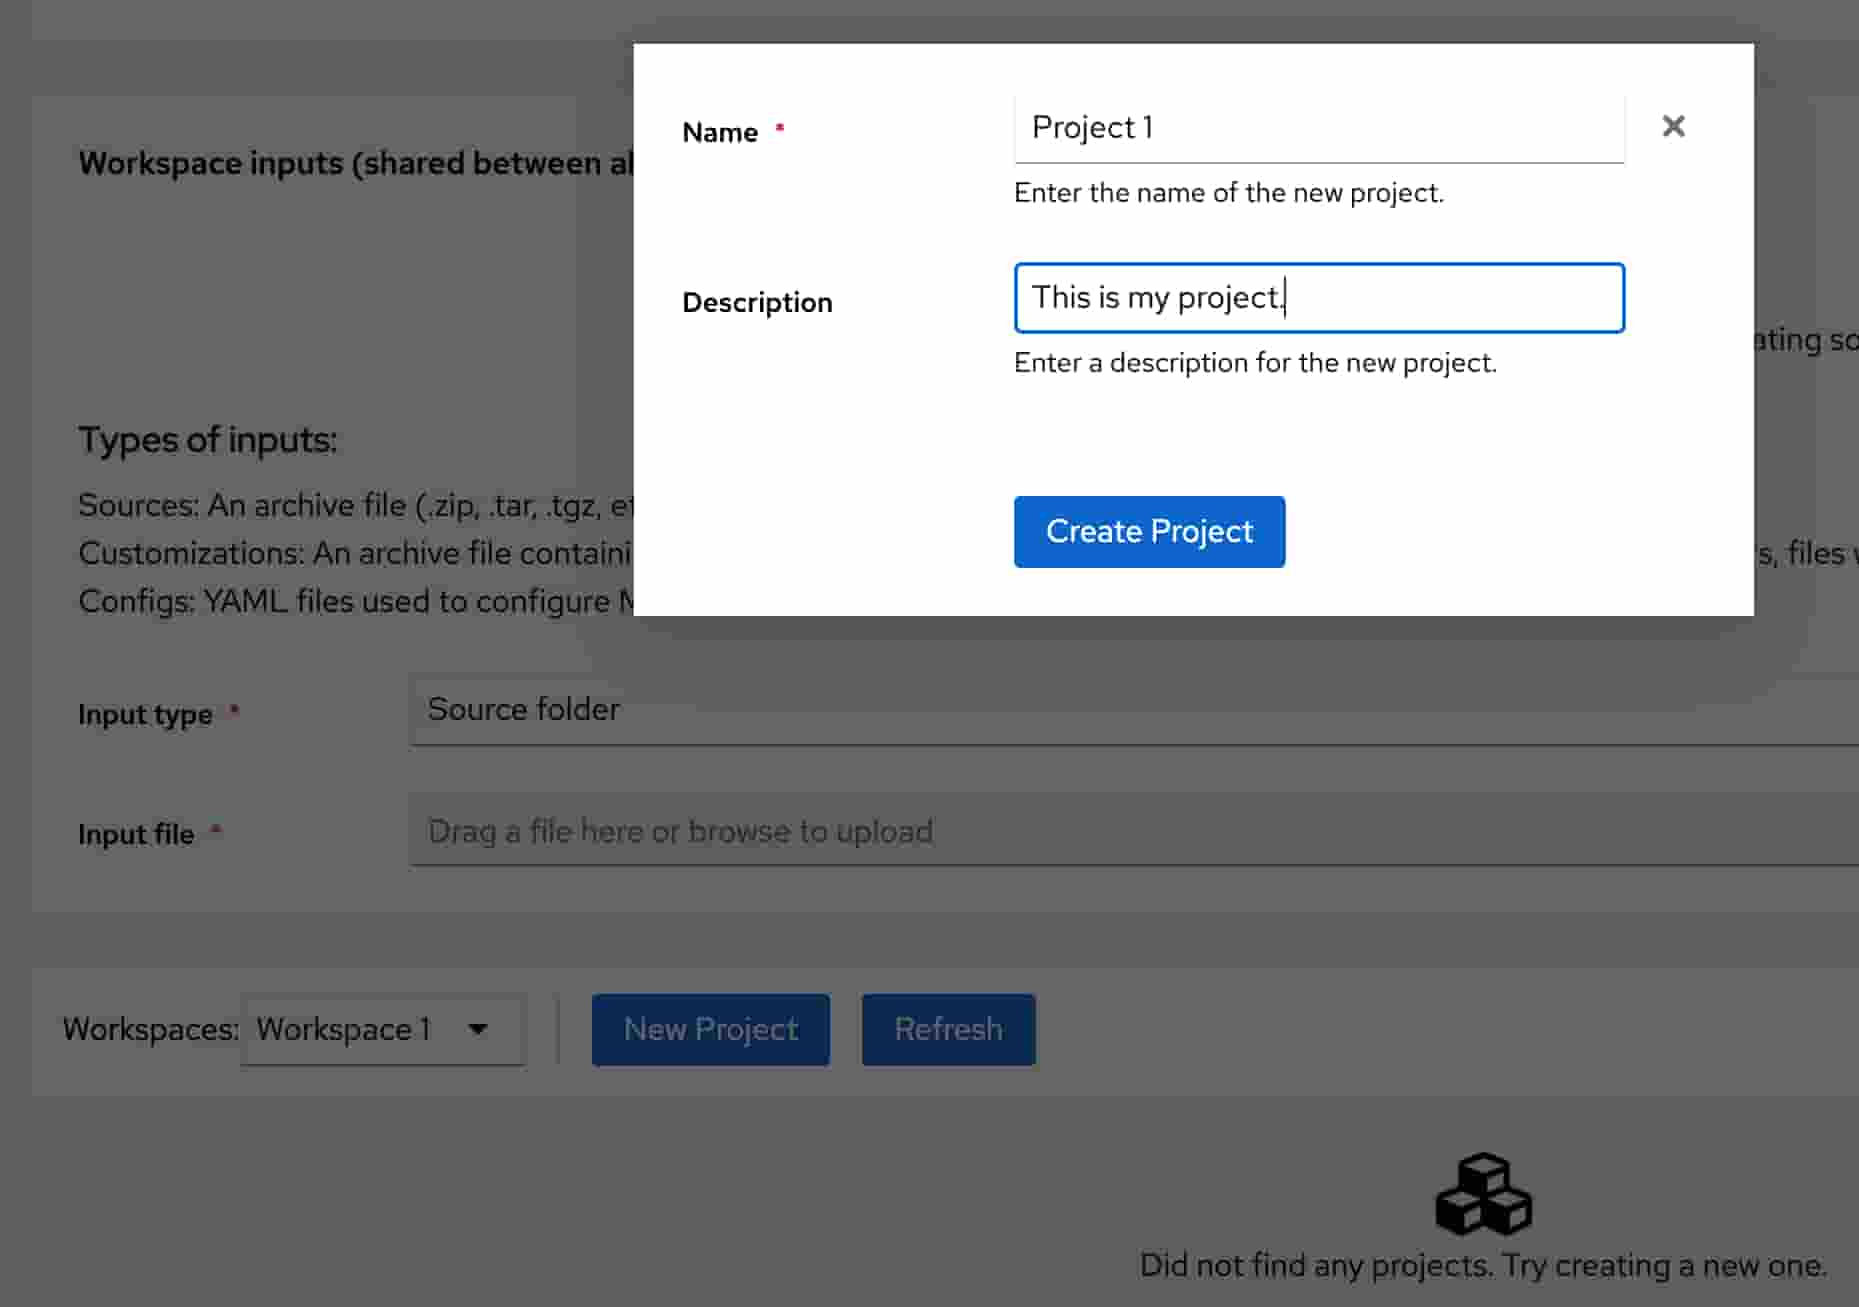
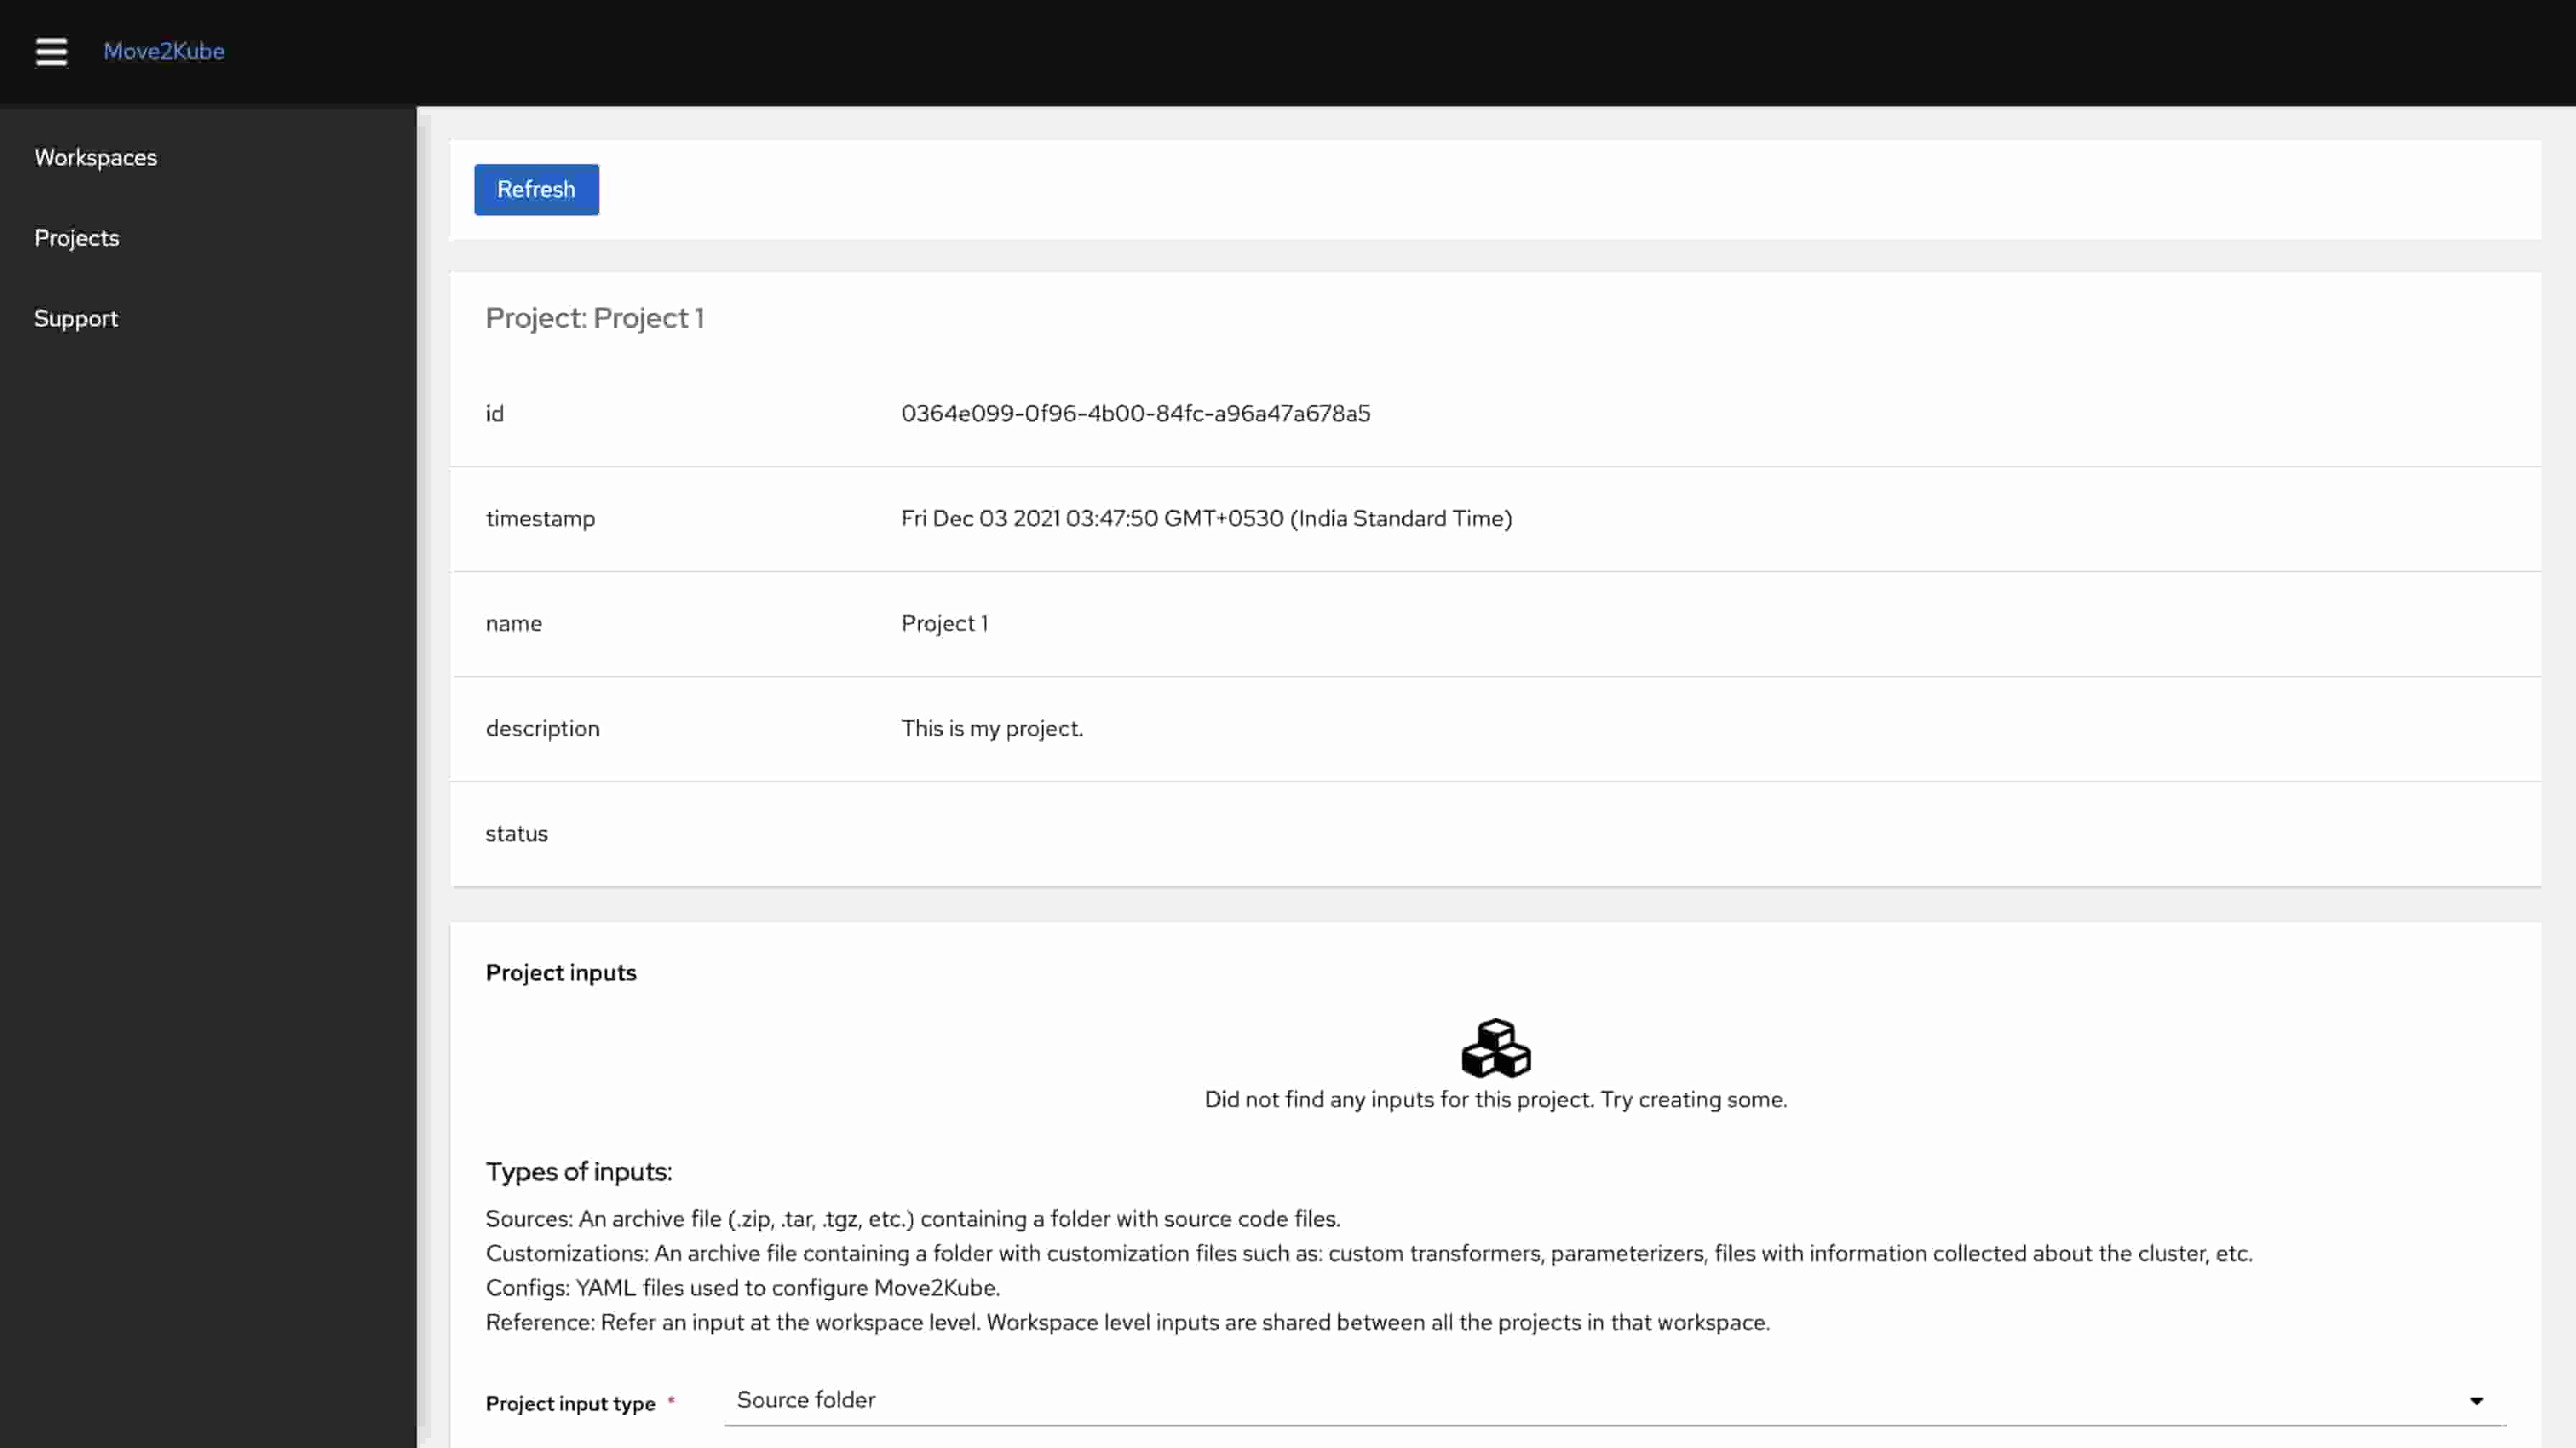
Scroll down and create a new project
Project 1by clicking on theNew Projectbutton.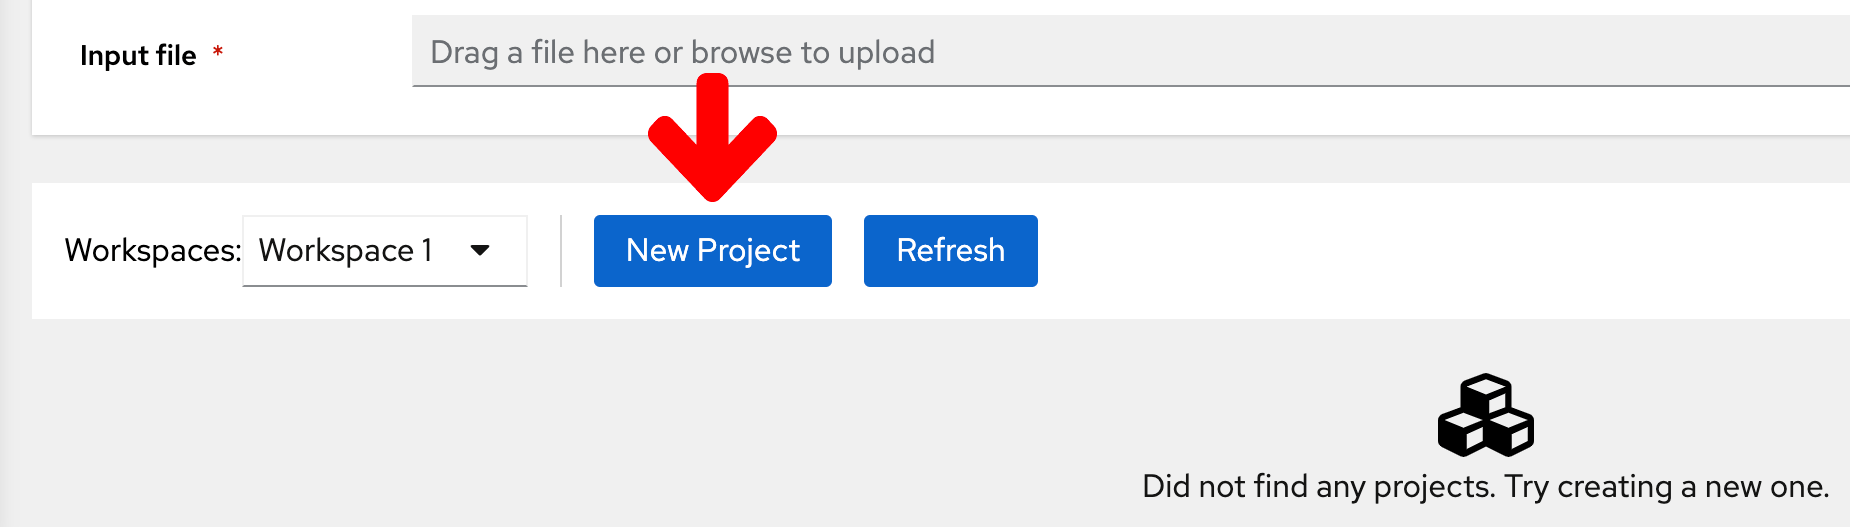
-
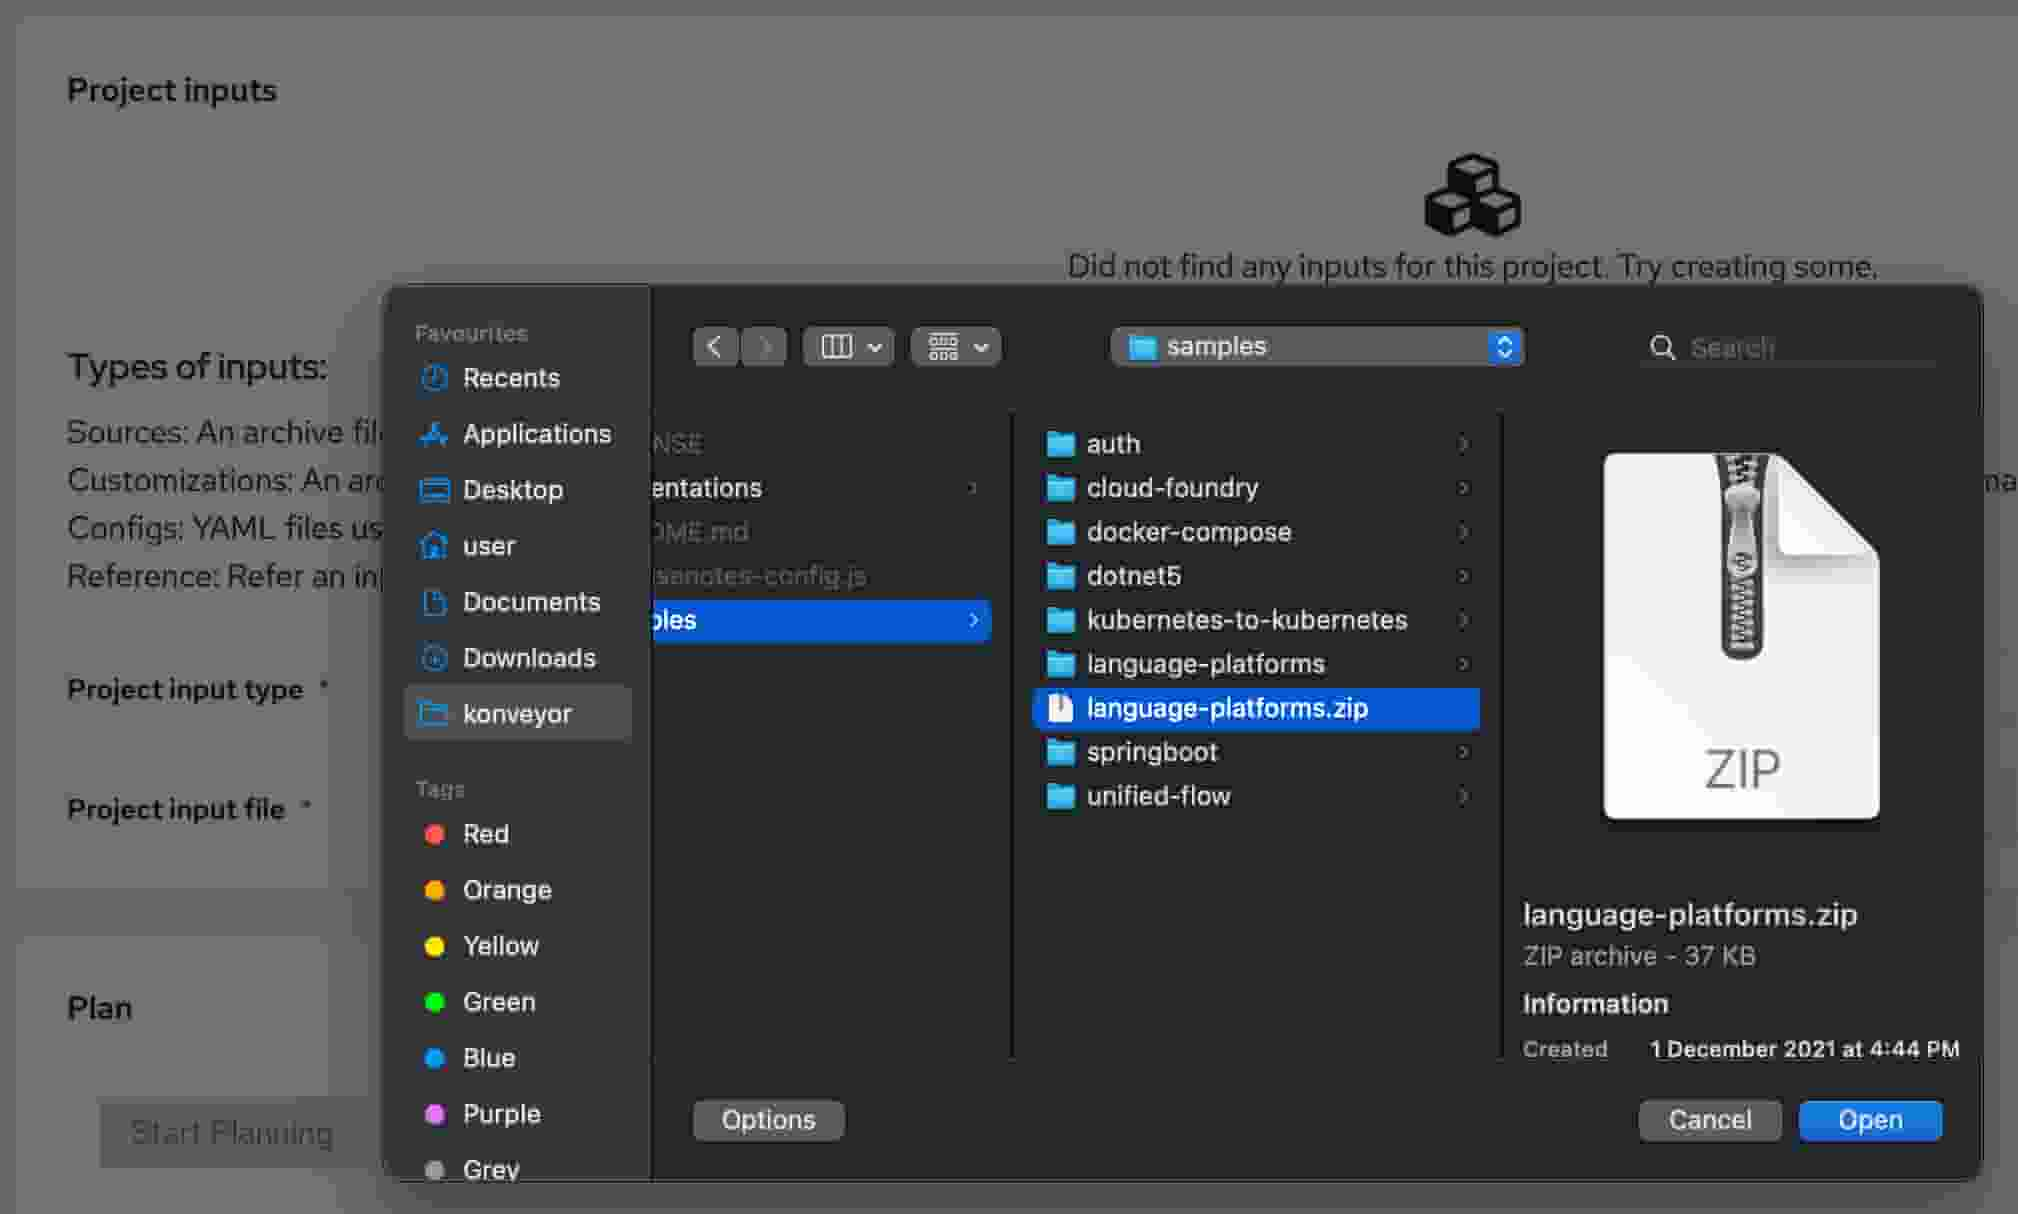
Scroll down to the
Project inputssection and upload the language-platforms.zip file which we downloaded earlier in this tutorial and wait for it to finish uploading.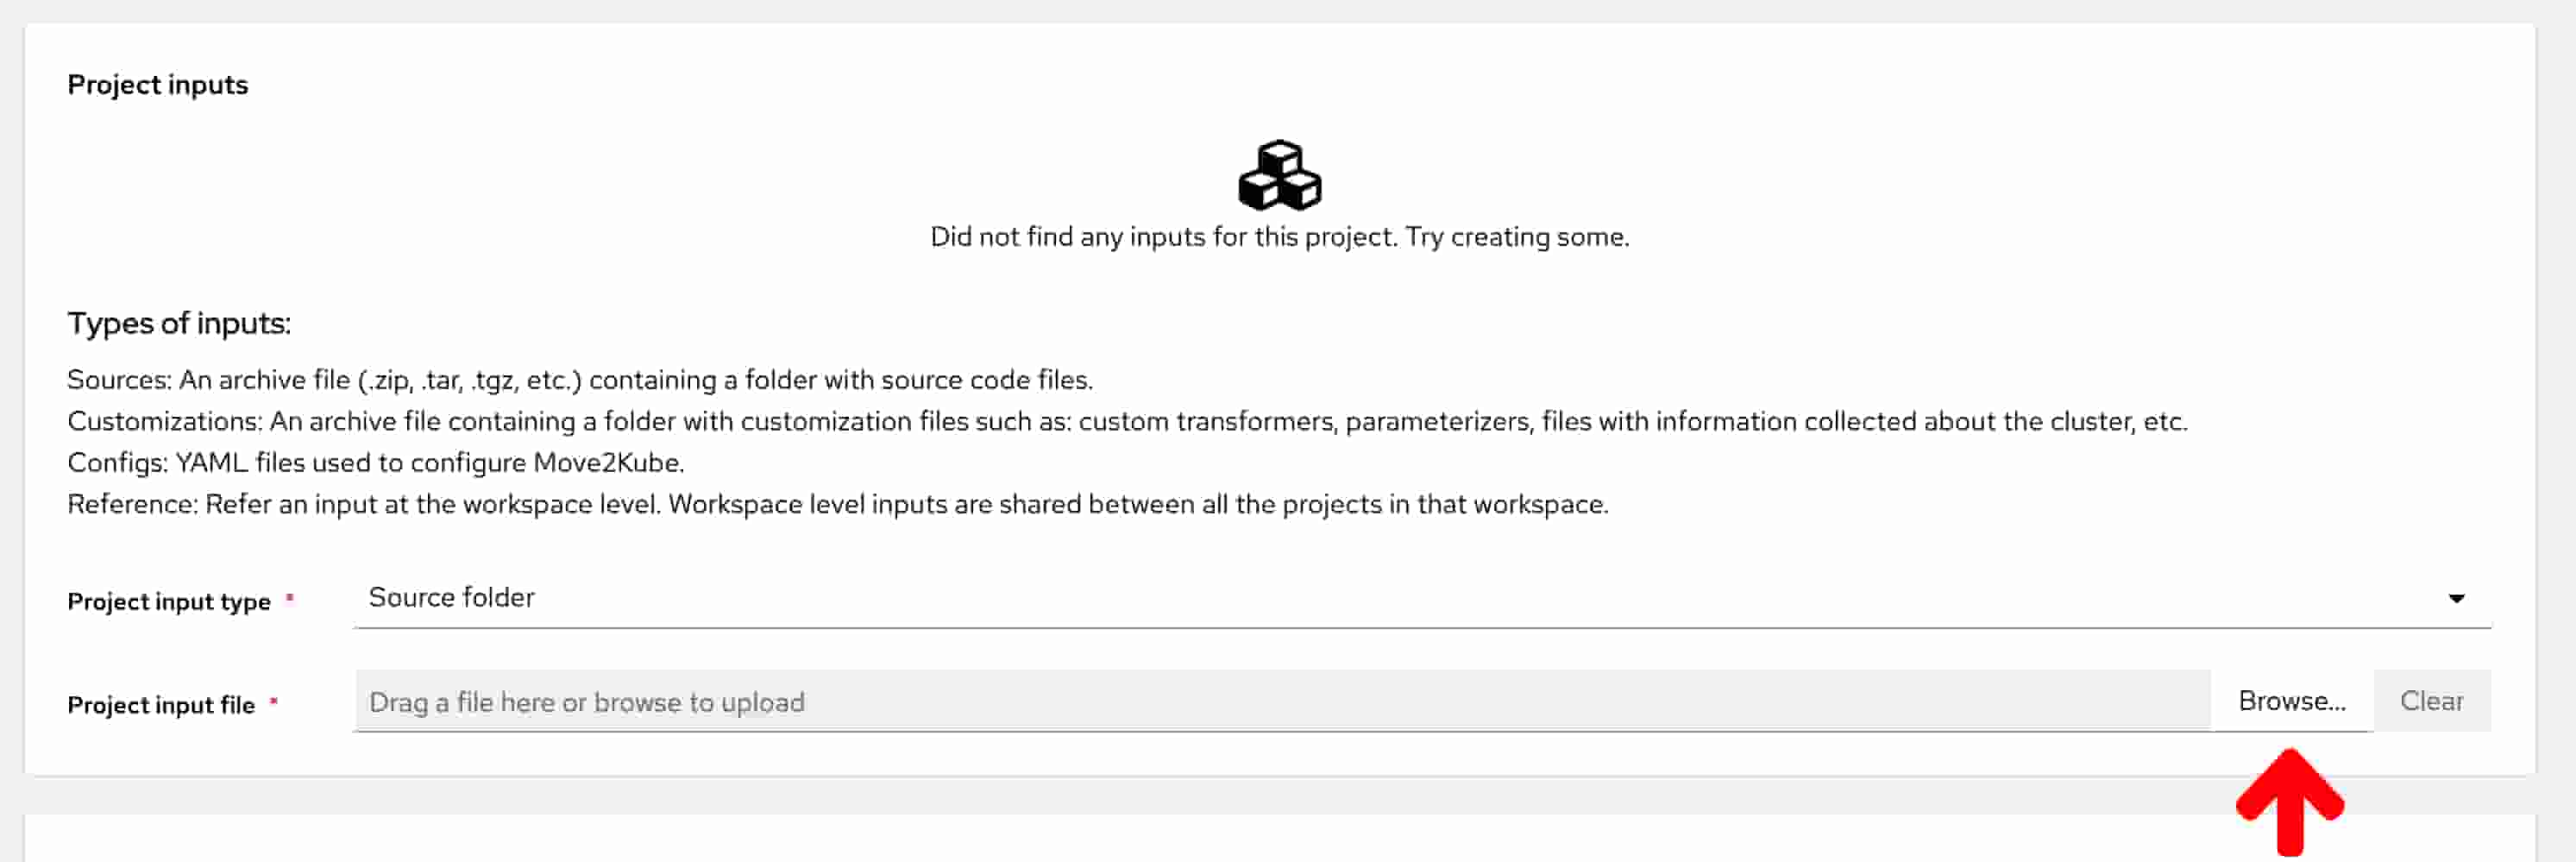

-
Now scroll down to the
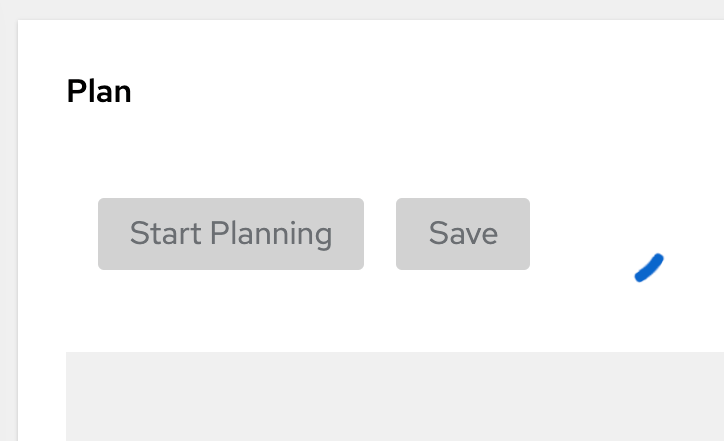
Plansection and click on theStart Planningbutton. Wait for the plan to get generated. It takes about three to five minutes to generate the plan.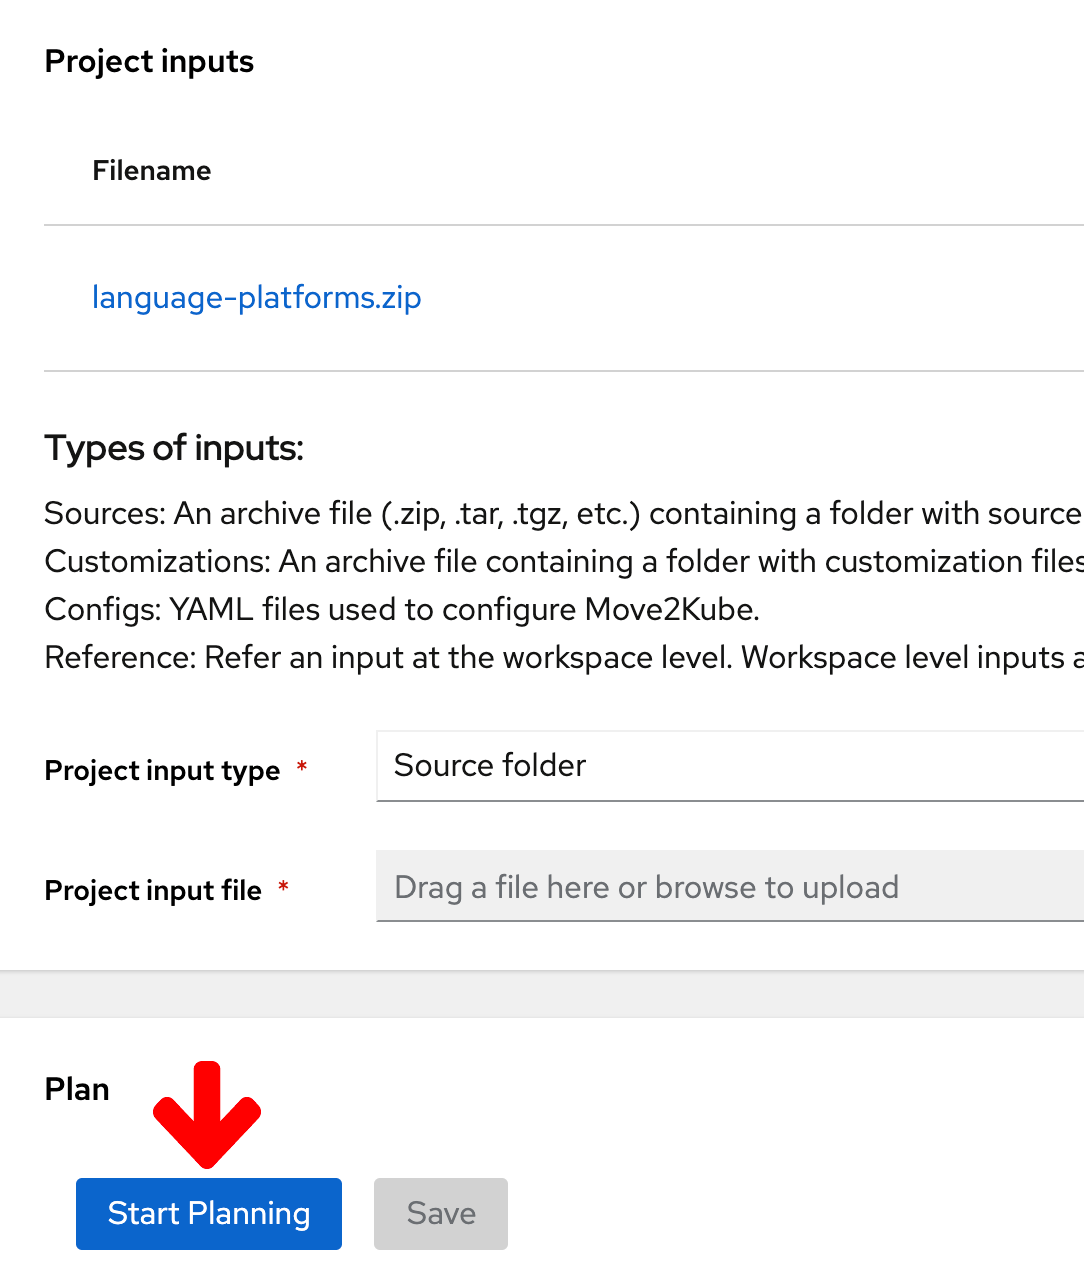
-
Once the plan is generated you can scroll to see the different services. The plan is in YAML format. If you edit the plan don’t forget to click
Save.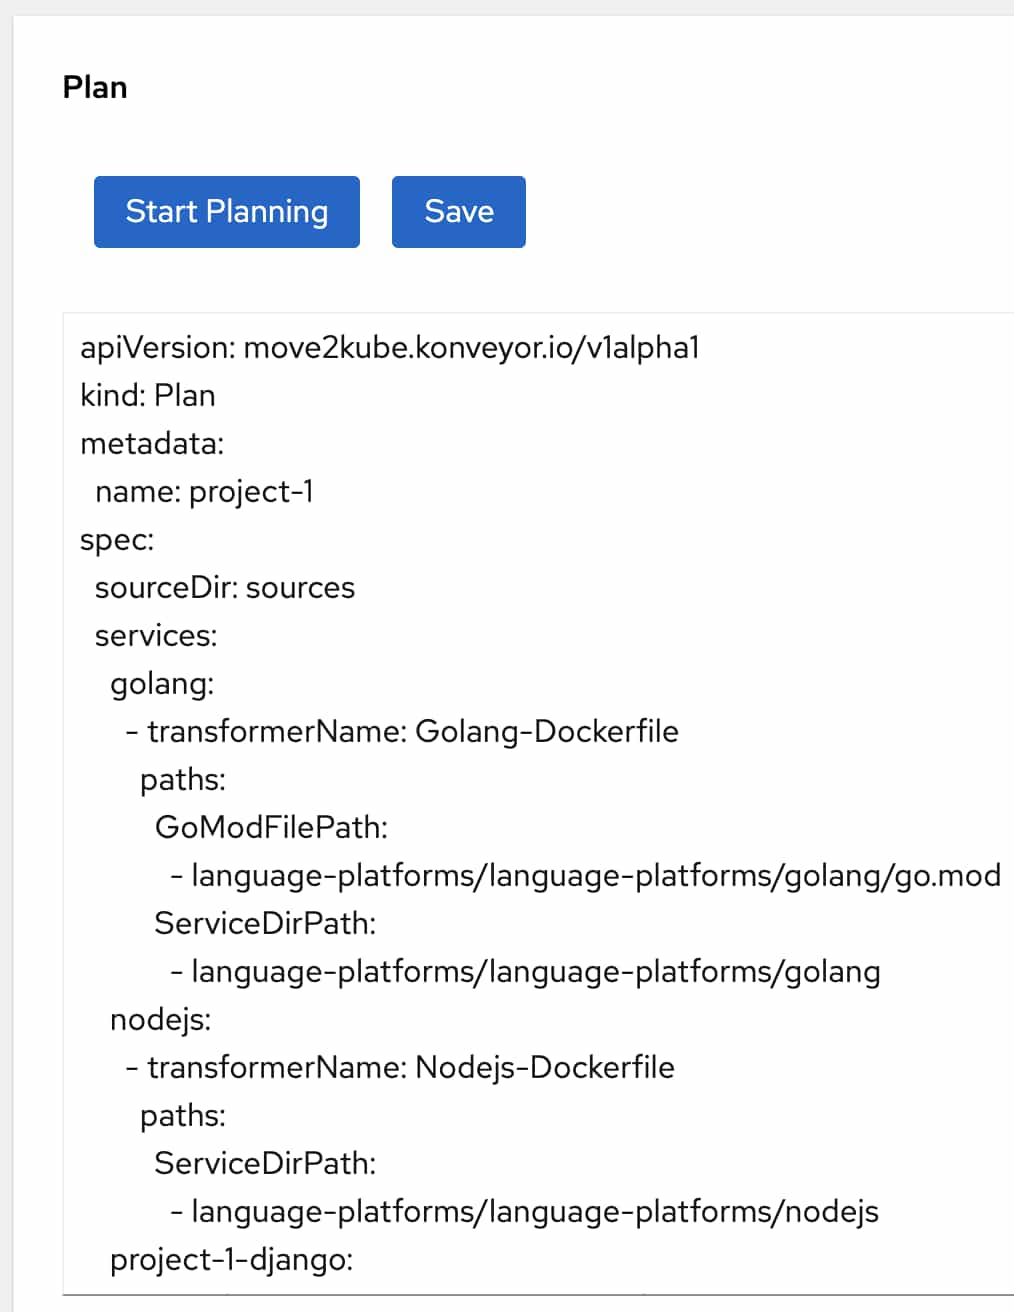
-
Now scroll down to
Outputssection and click on theStart Transformationbutton.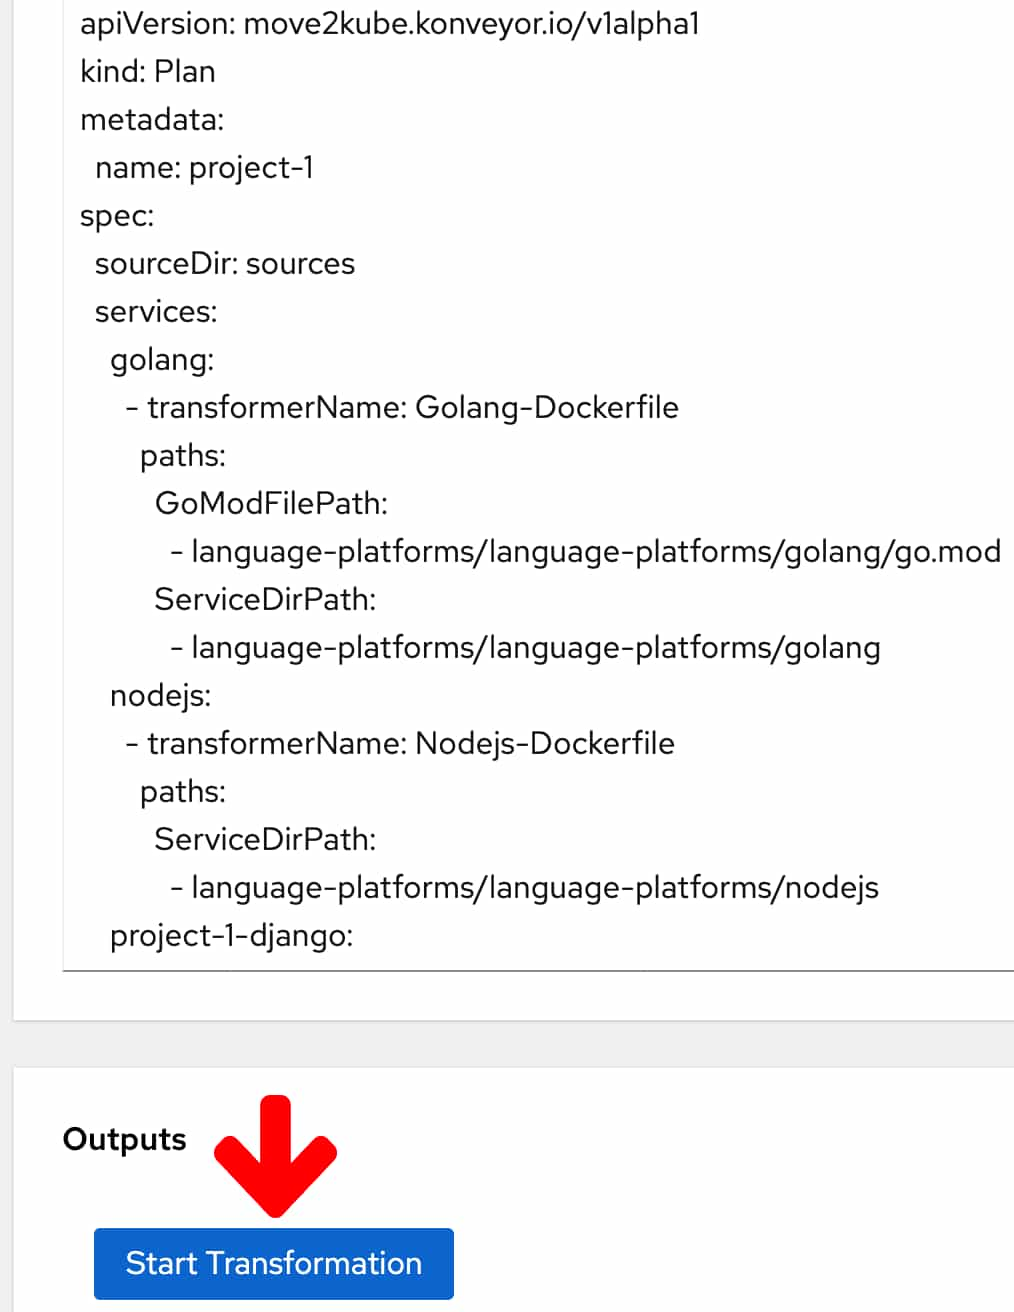
-
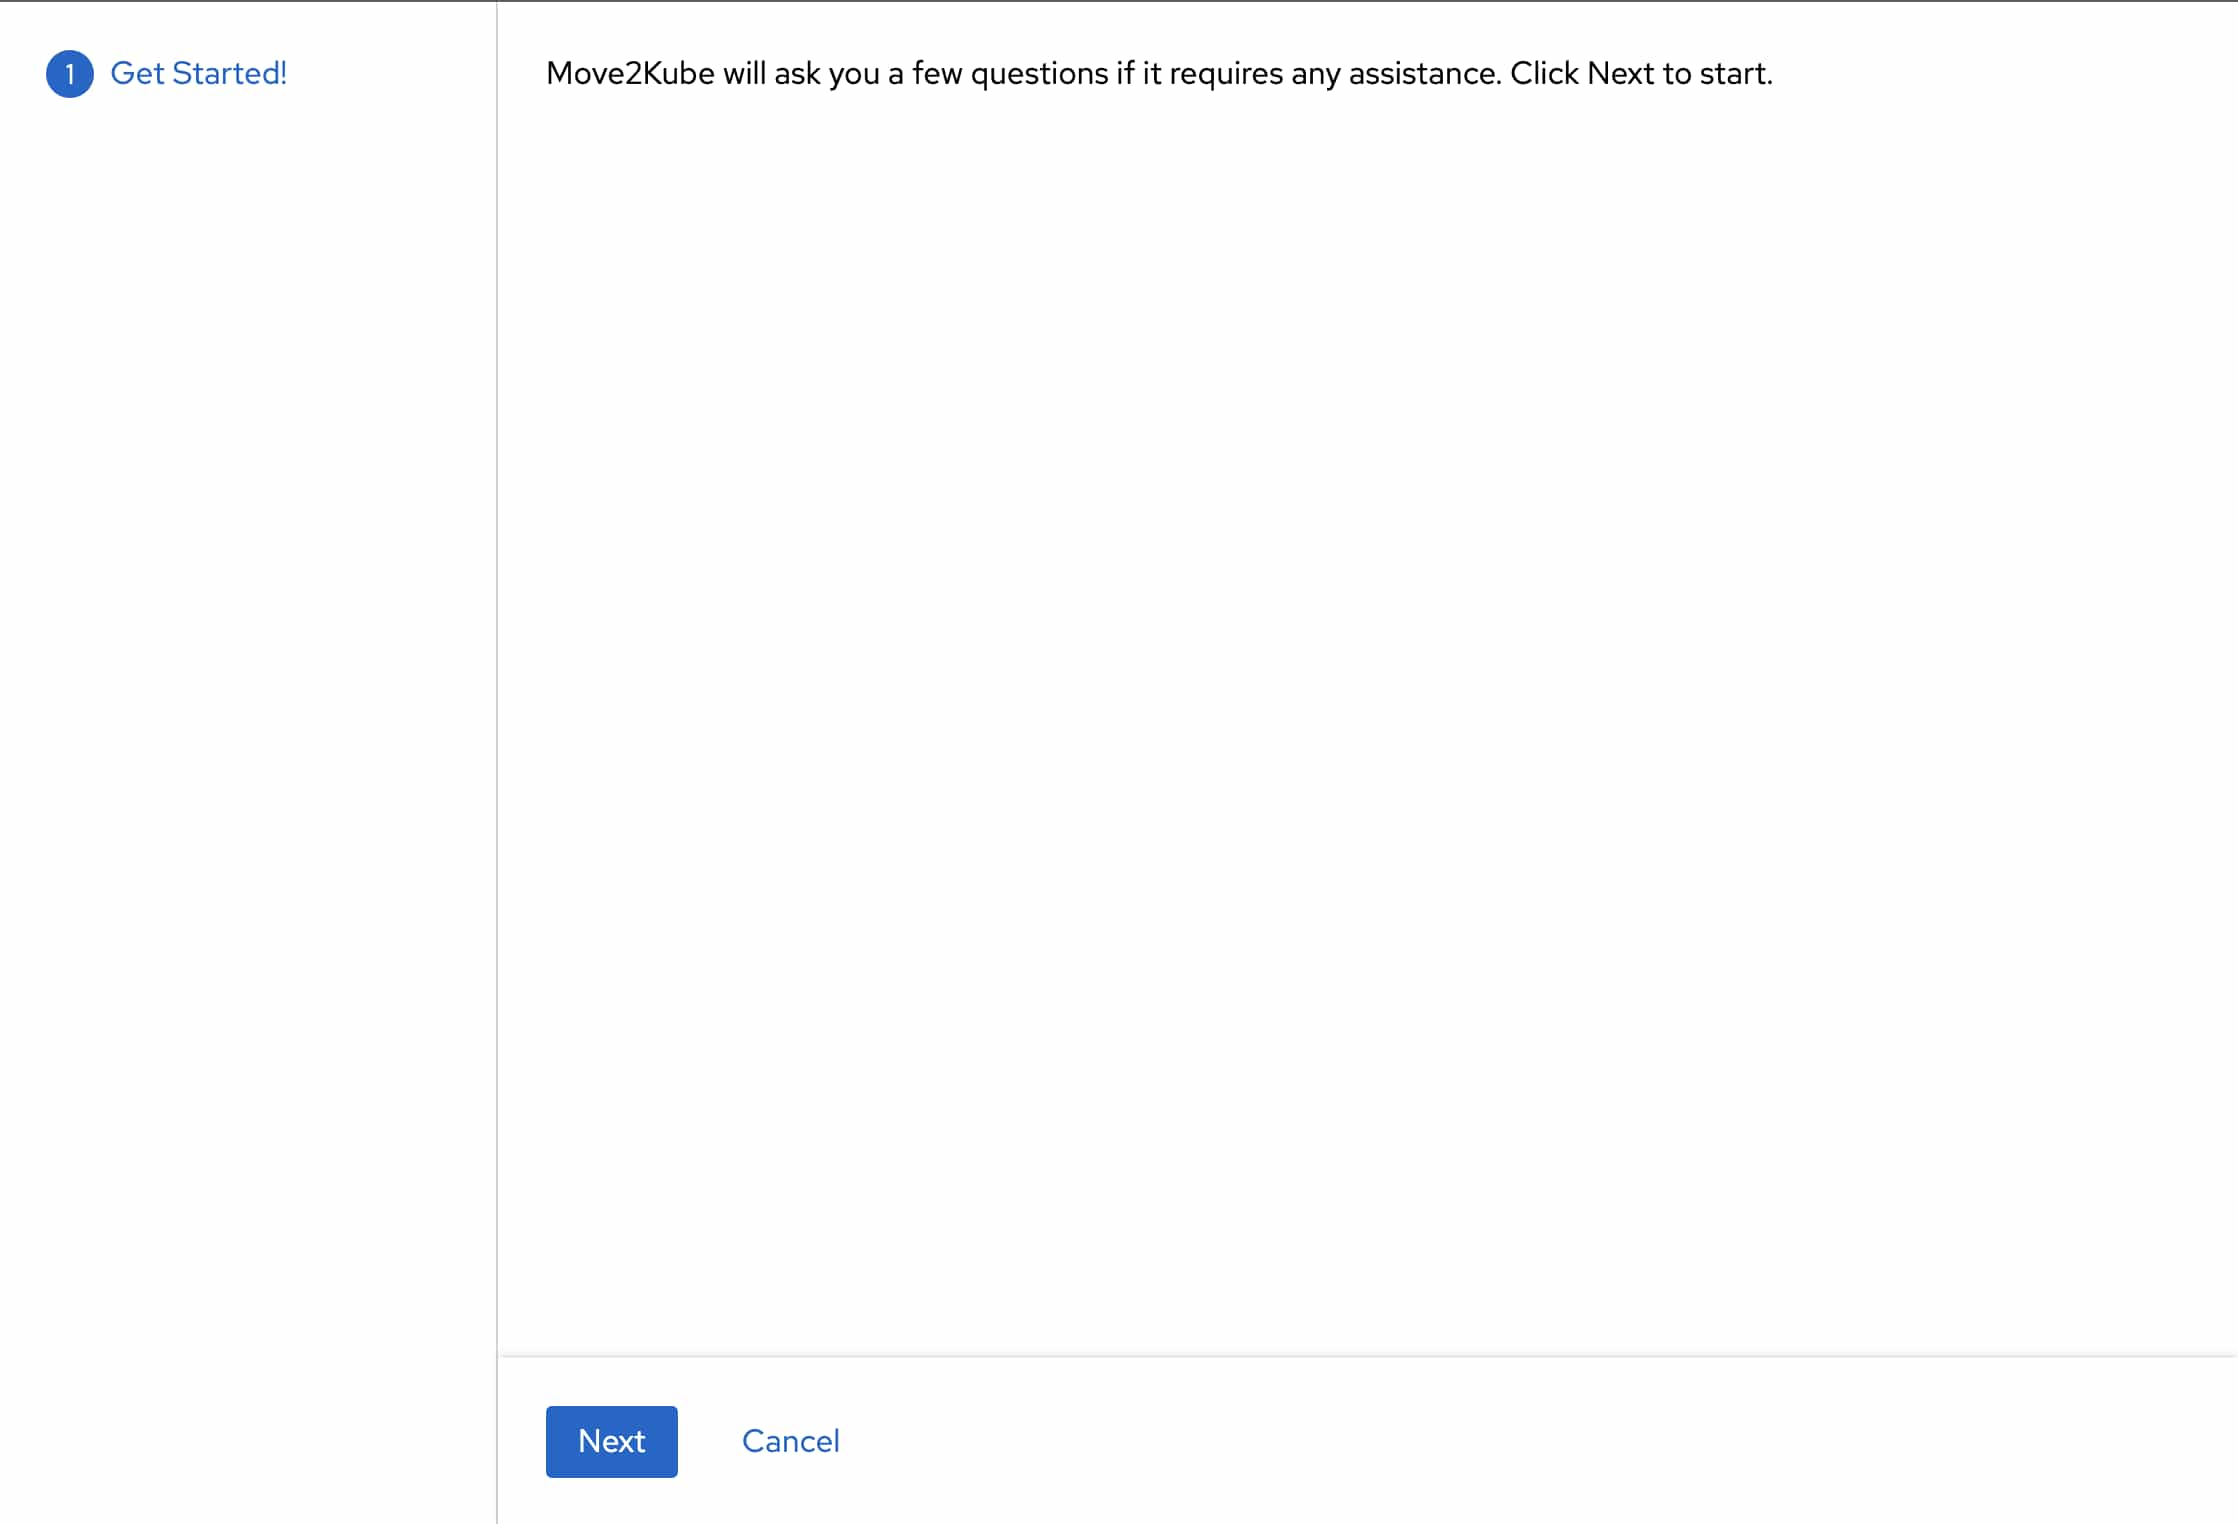
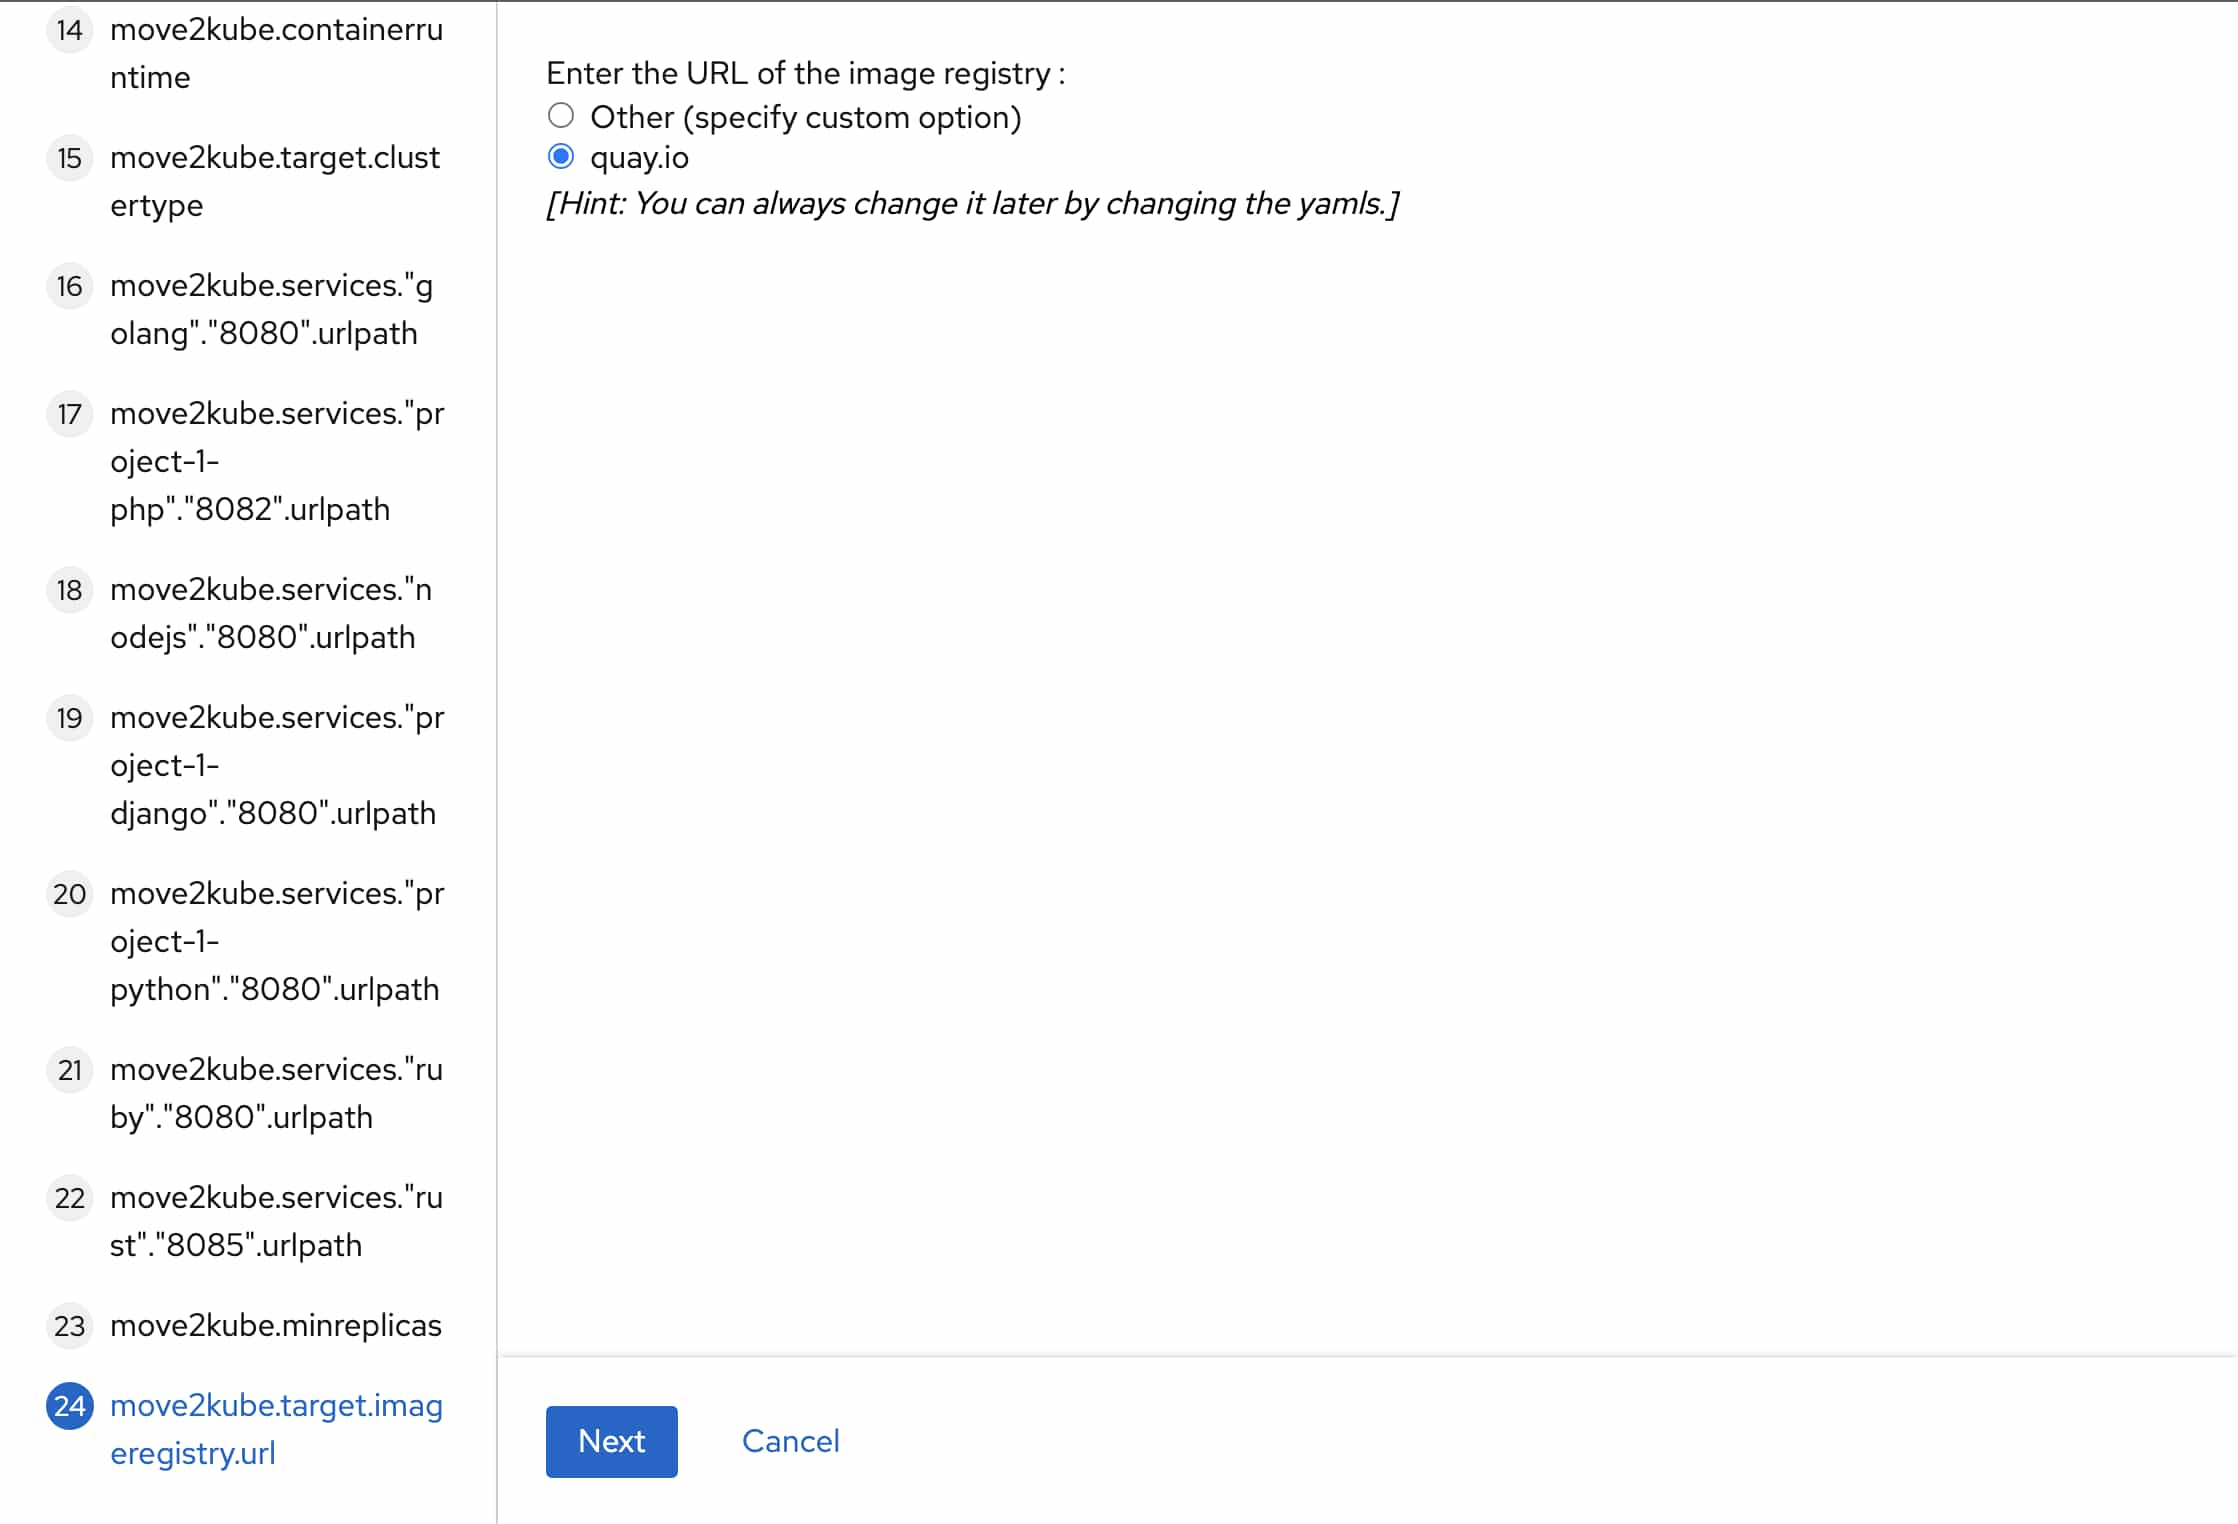
Move2Kube will ask some questions to aid in the transformation process.
For the question about container registry, specify the container registry where you want to push the images.
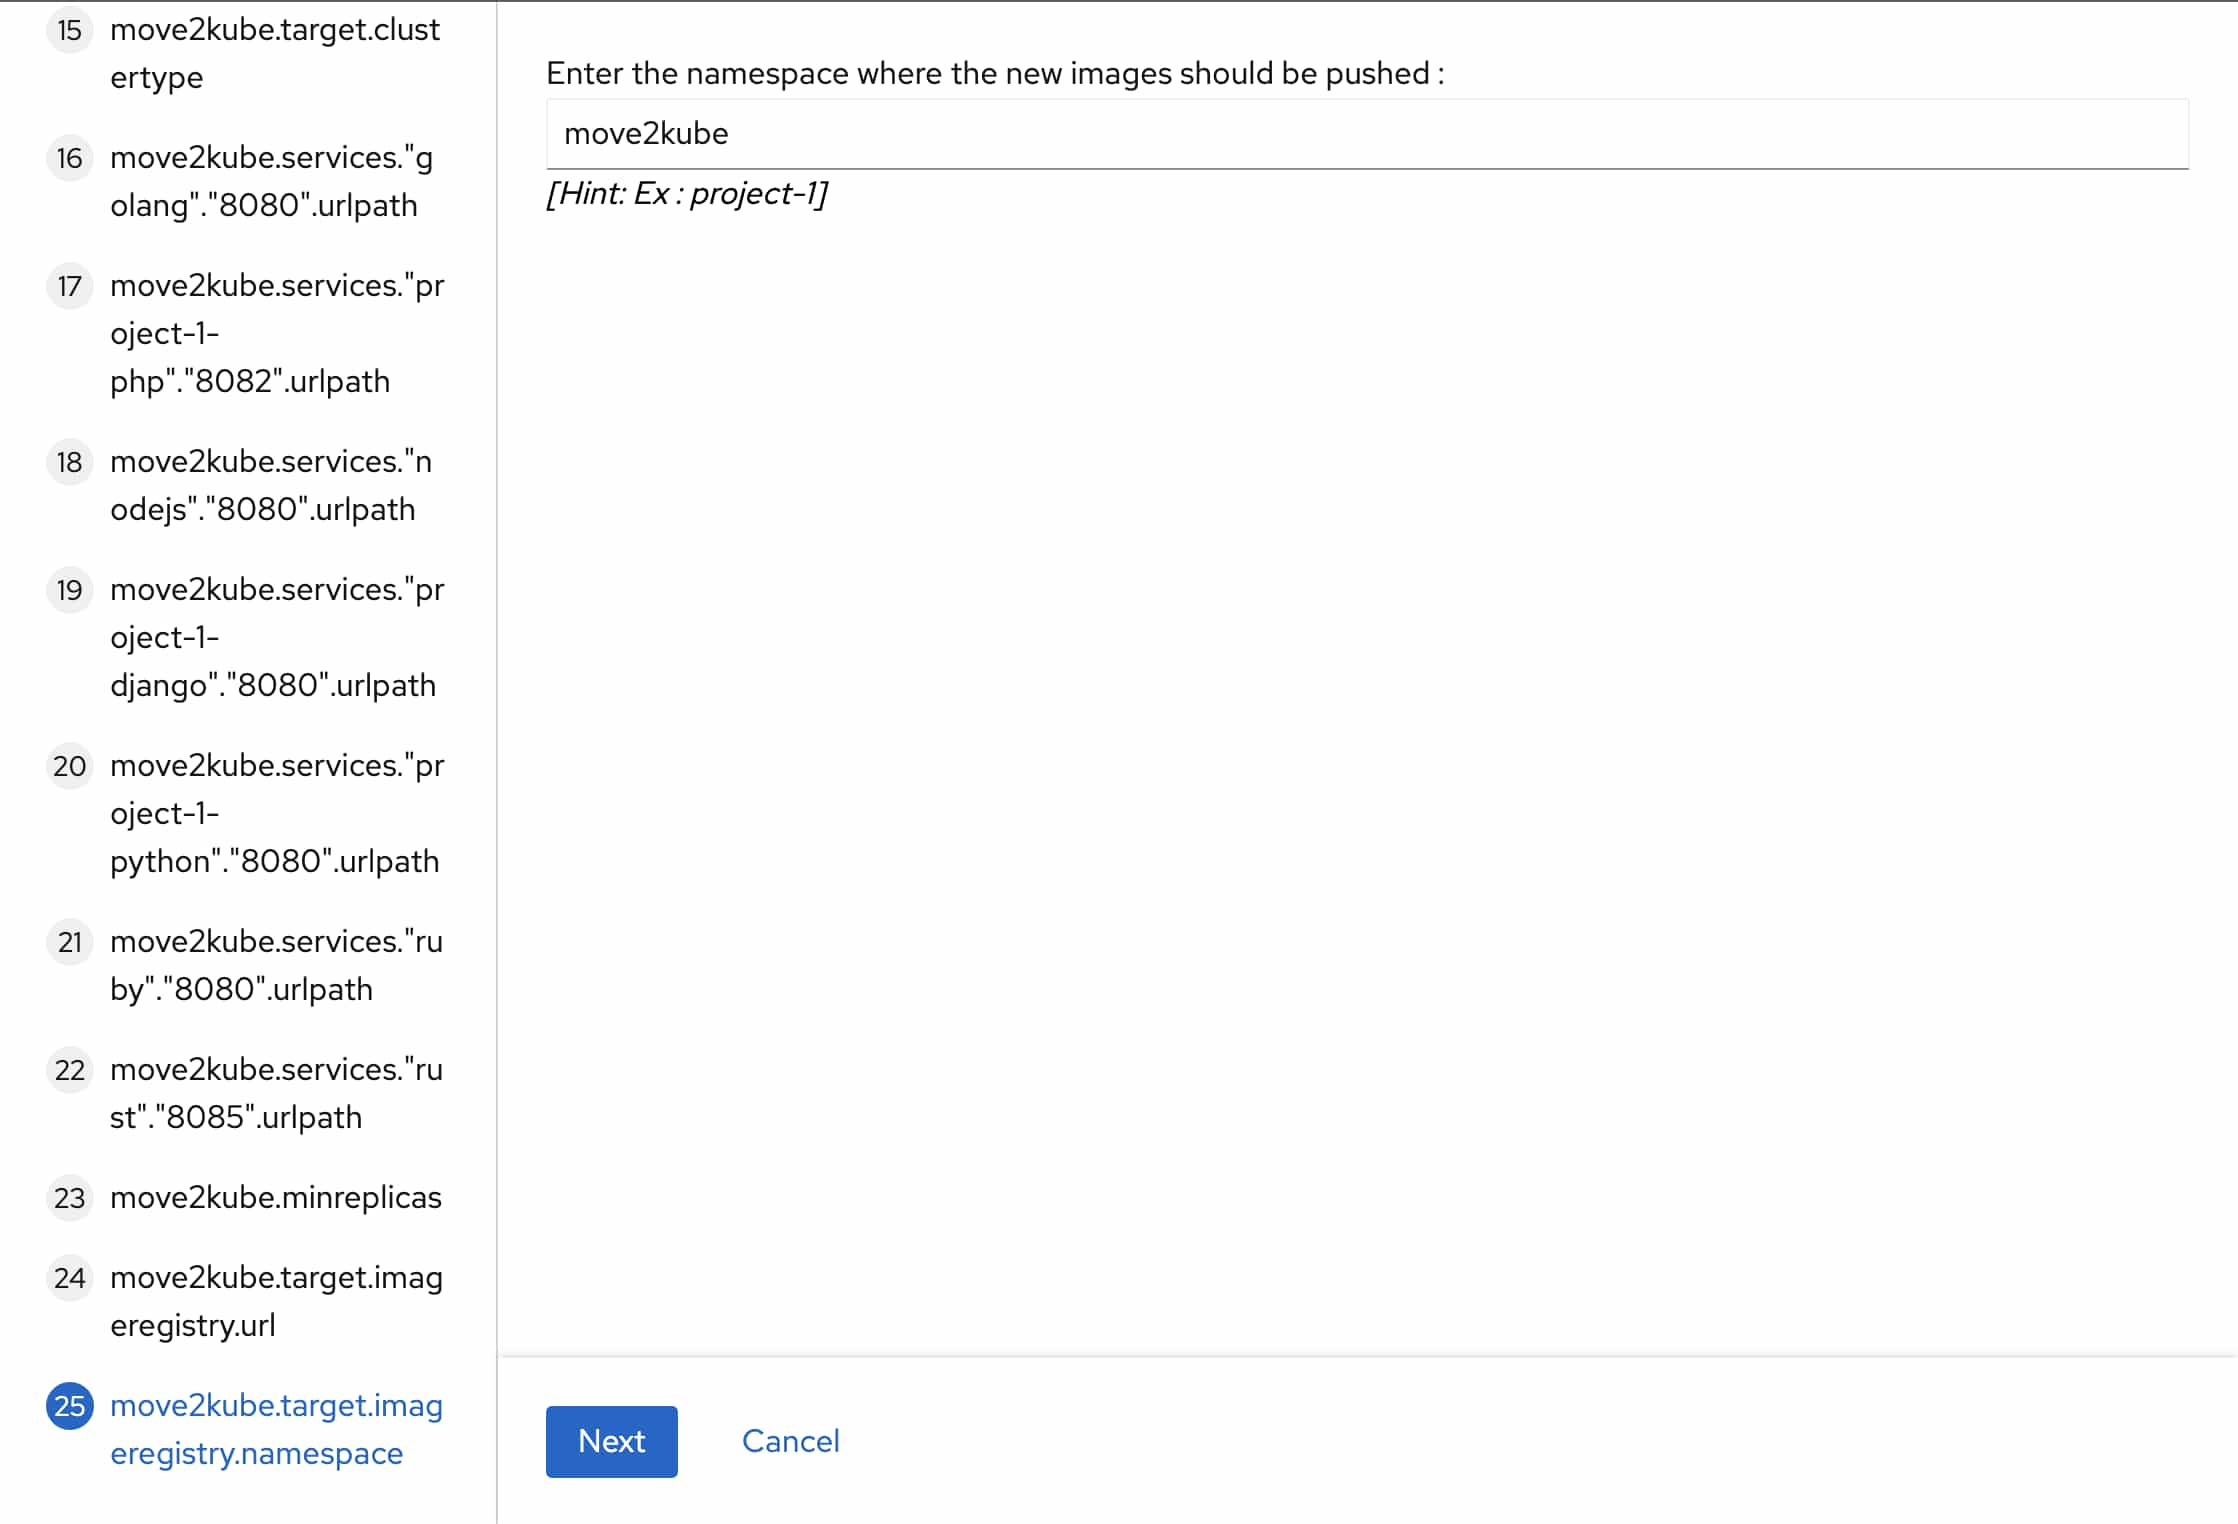
Same for the question about container registry namespace.
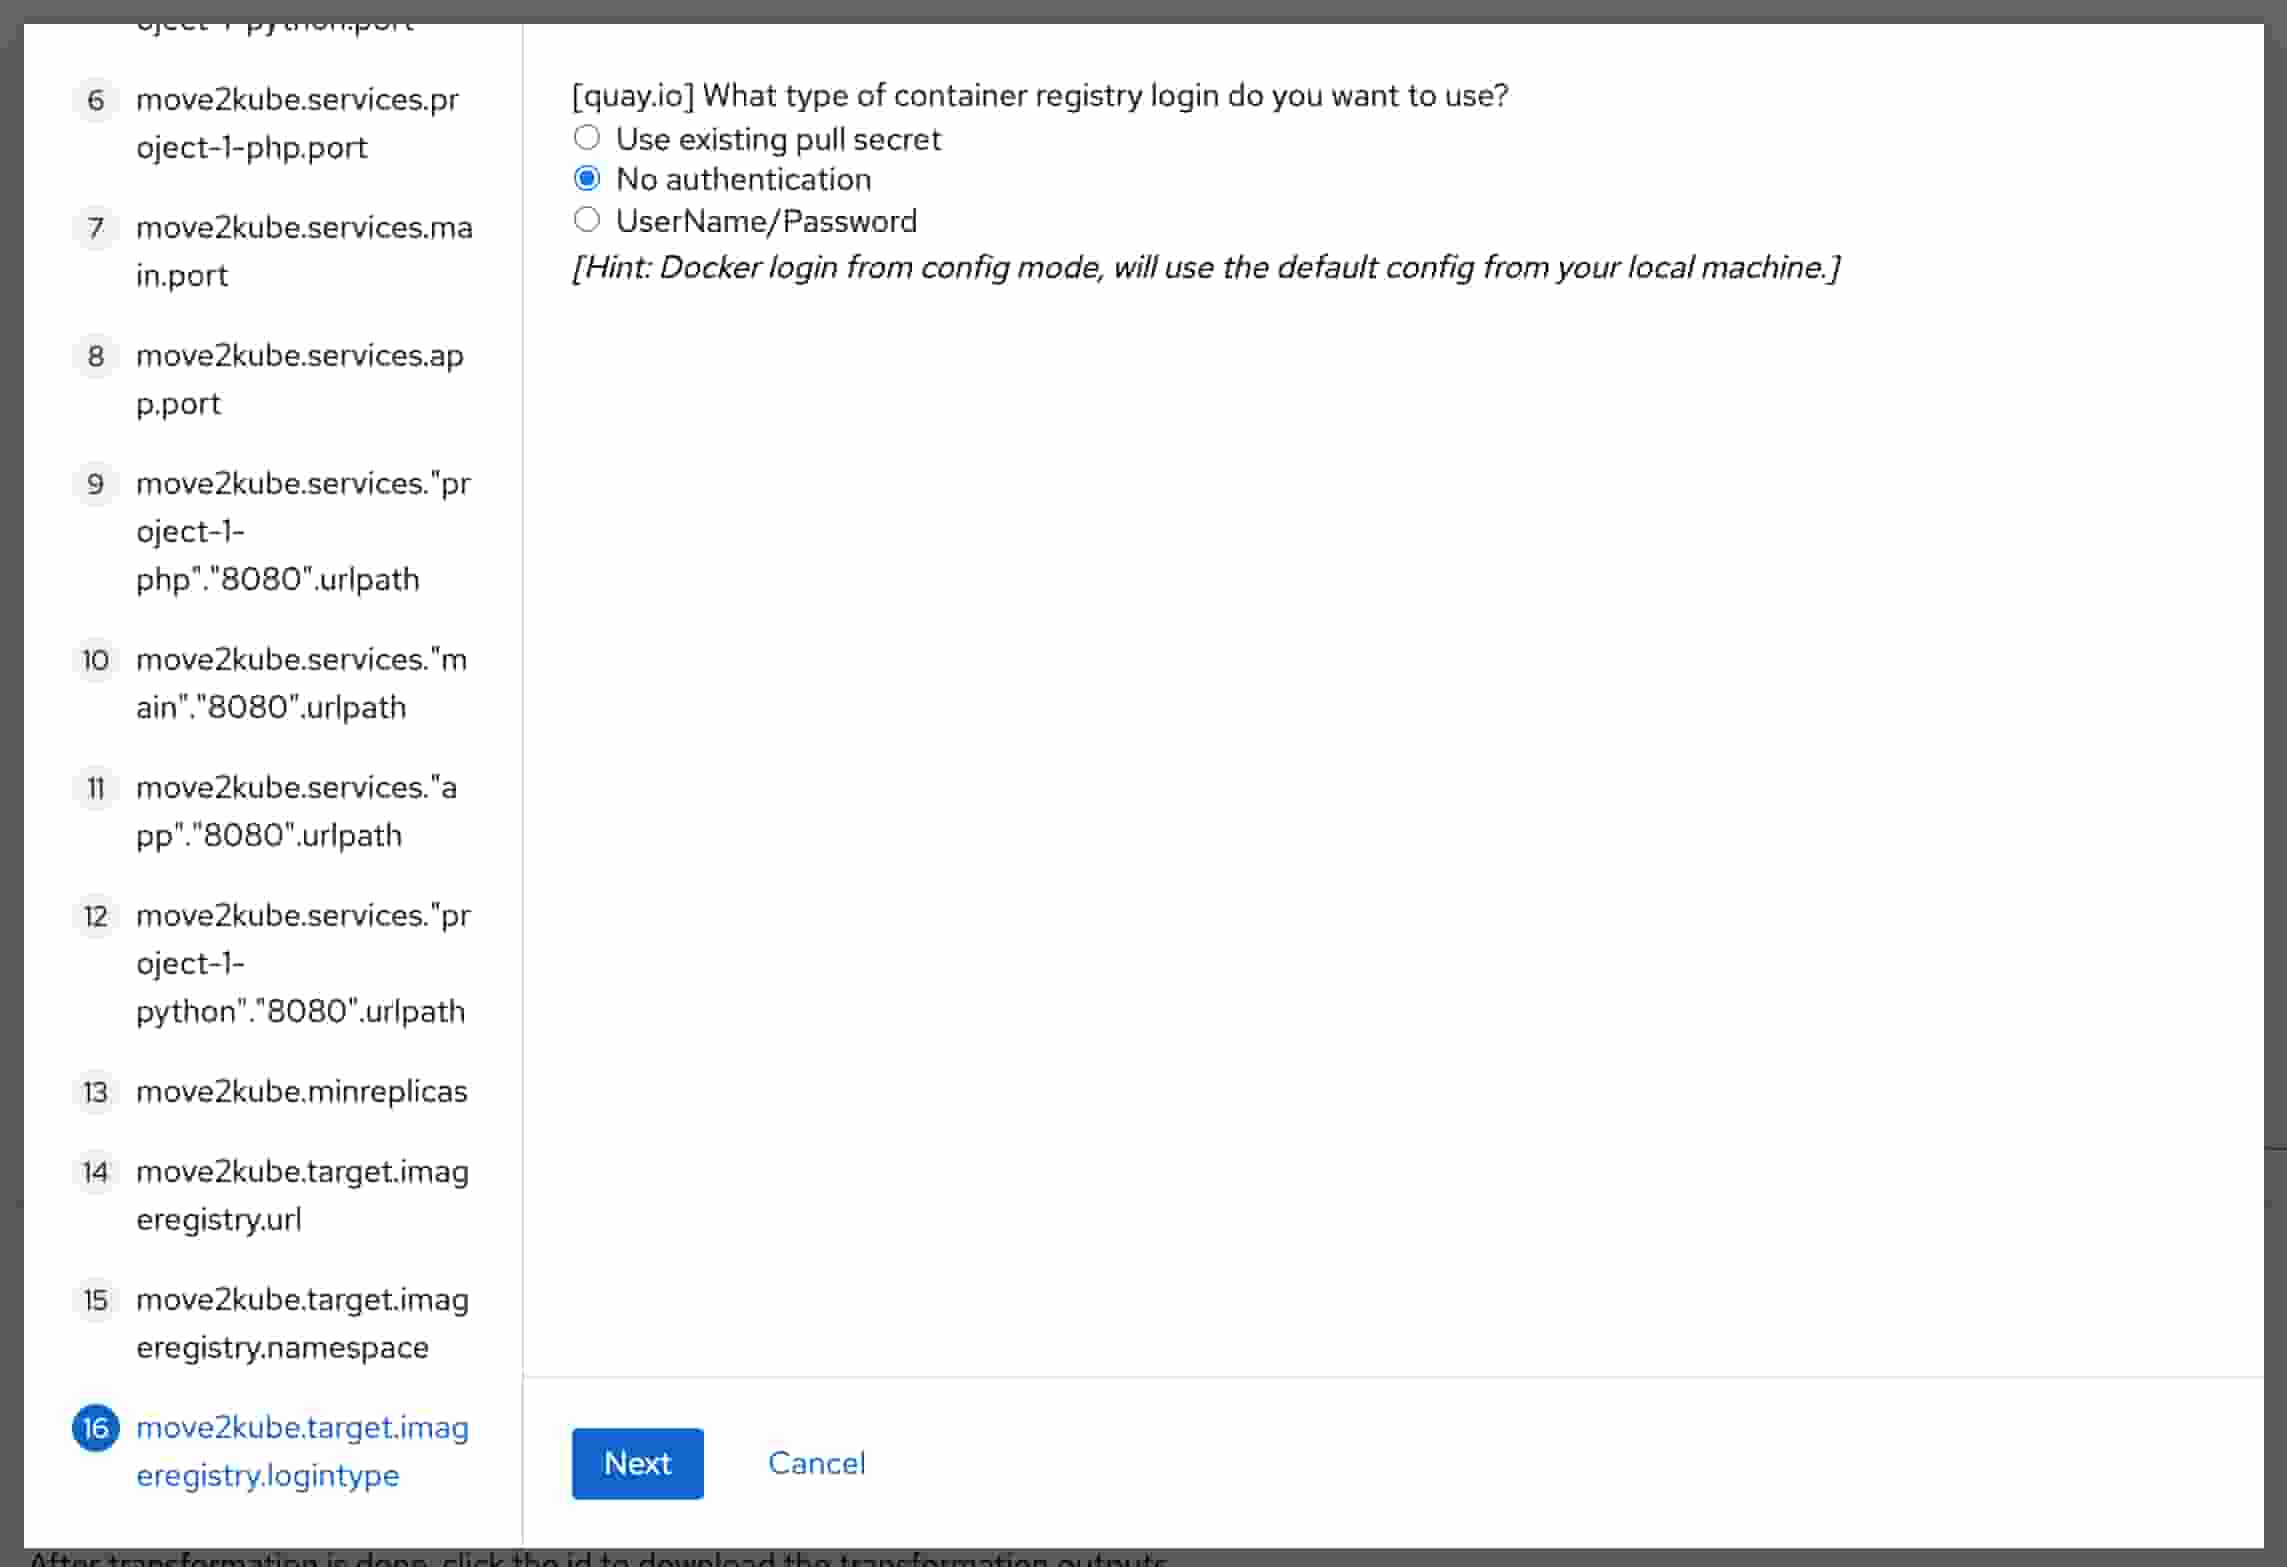
If your container registry requires authentication for pulling images, then specify that in the question about container registry login.
For the question about ingress host, specify the hostname of the Kubernetes cluster. If you are deploying to Minikube then specify
localhostas the hostname and leave the TLS secret blank.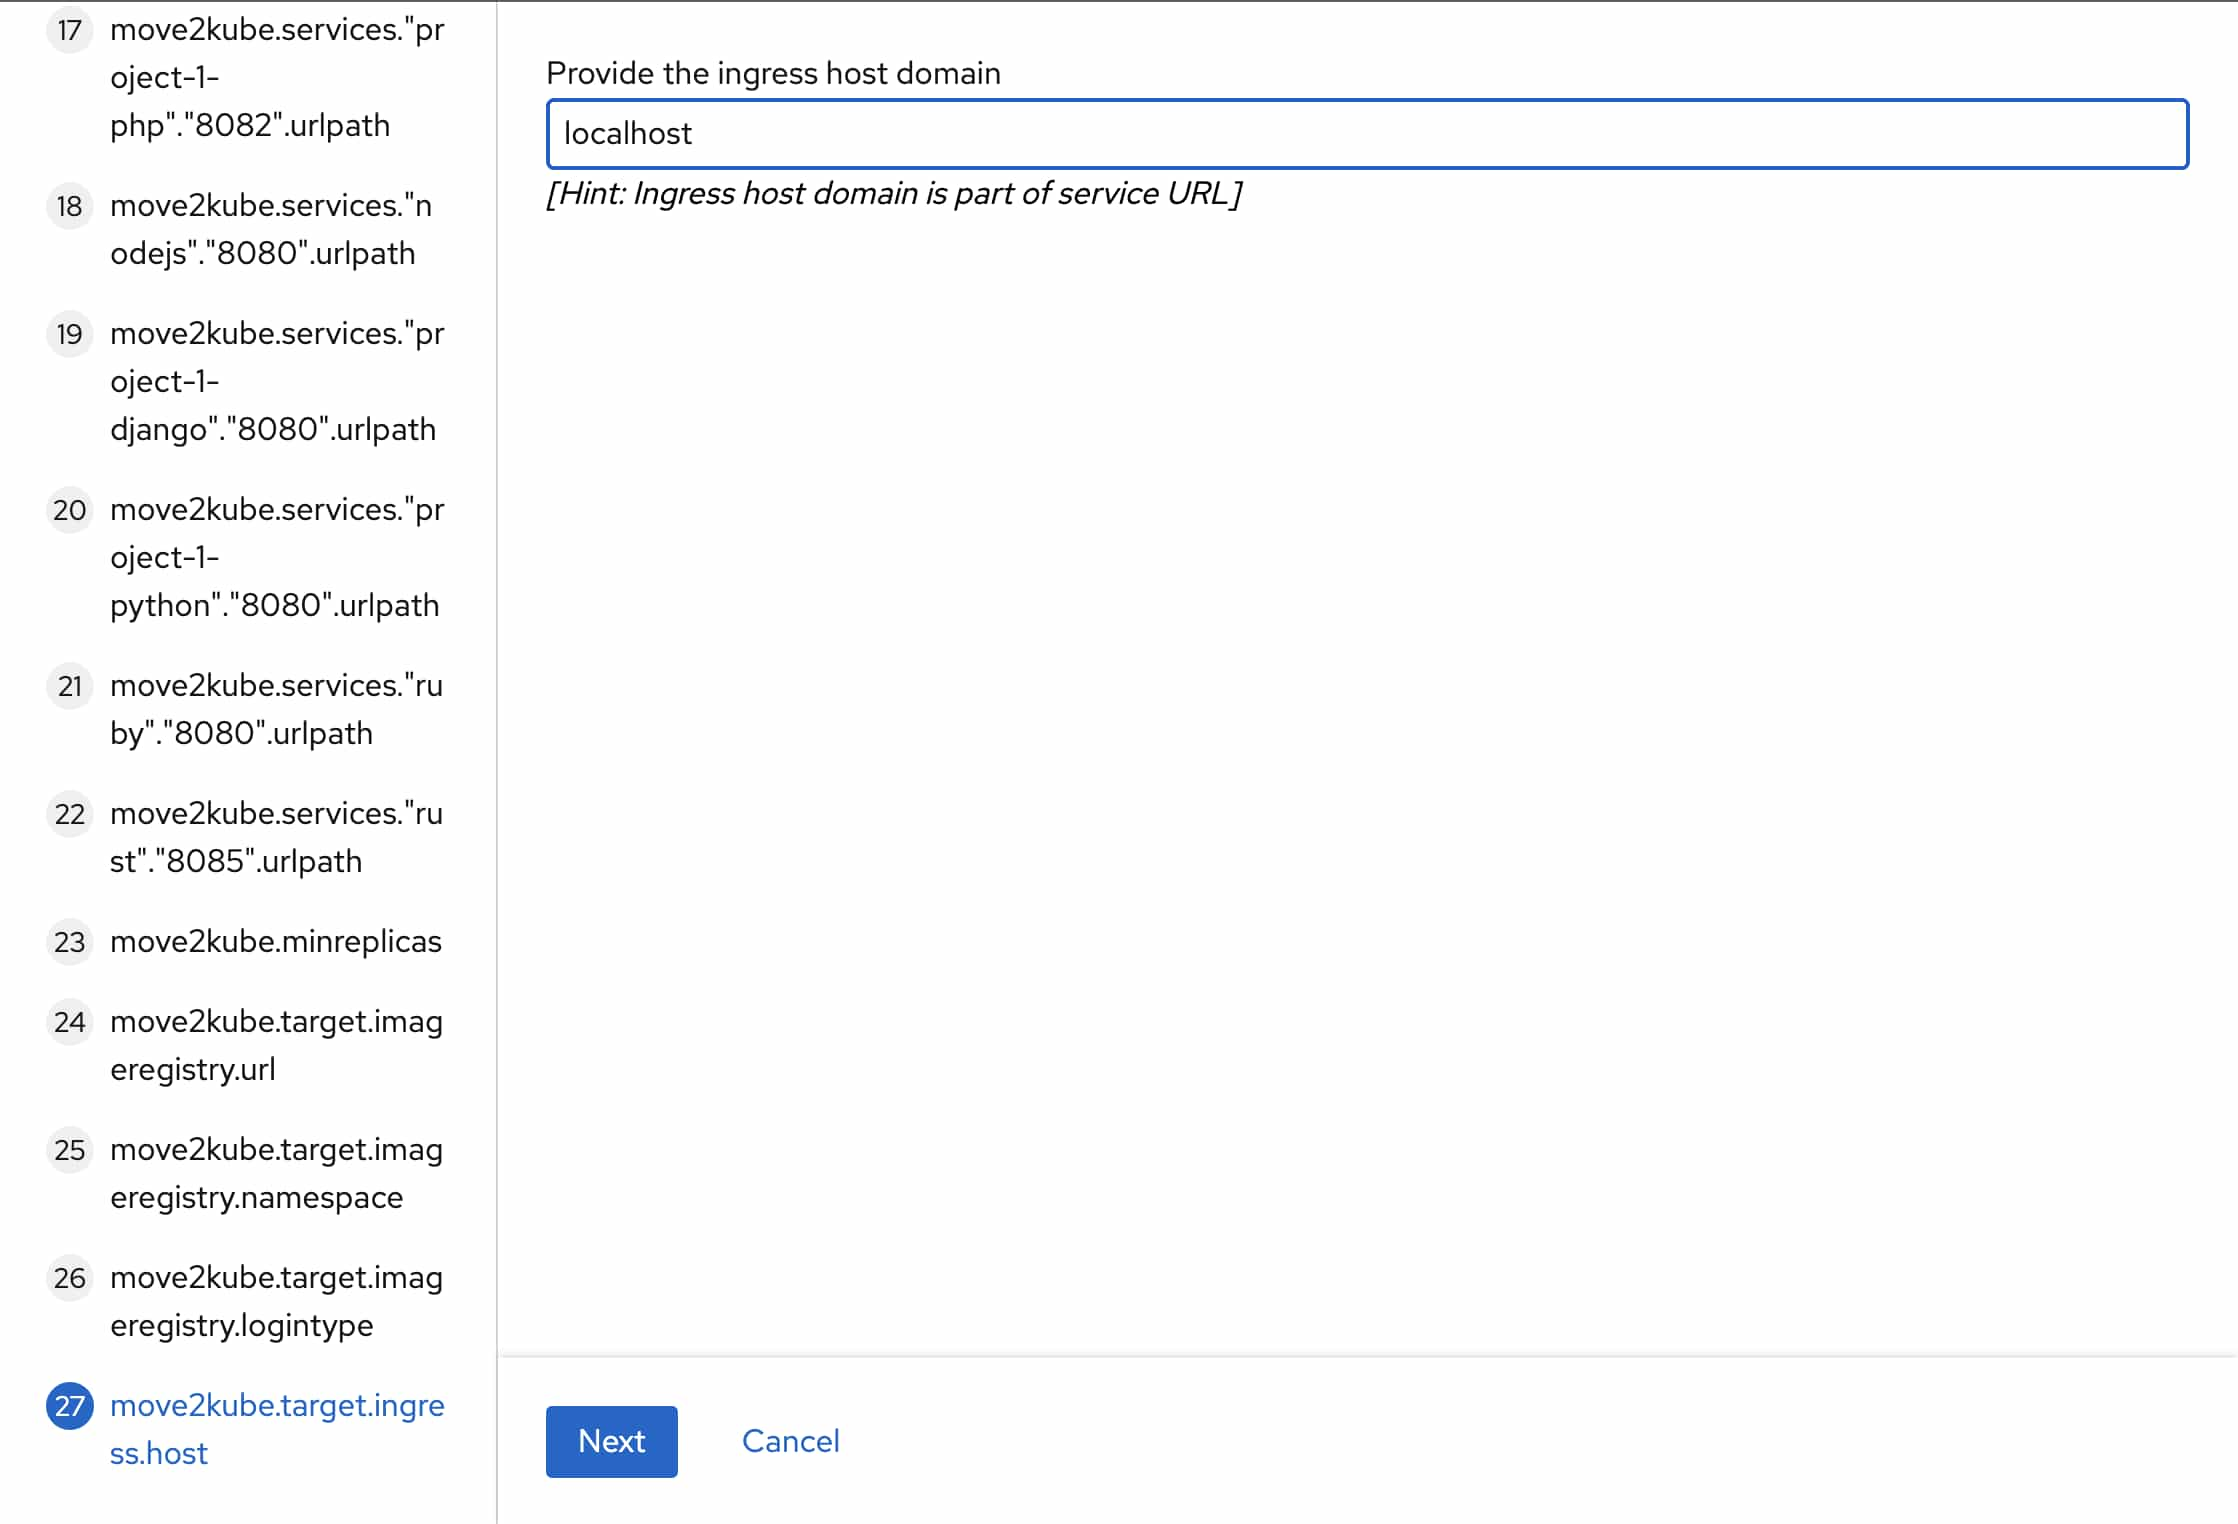
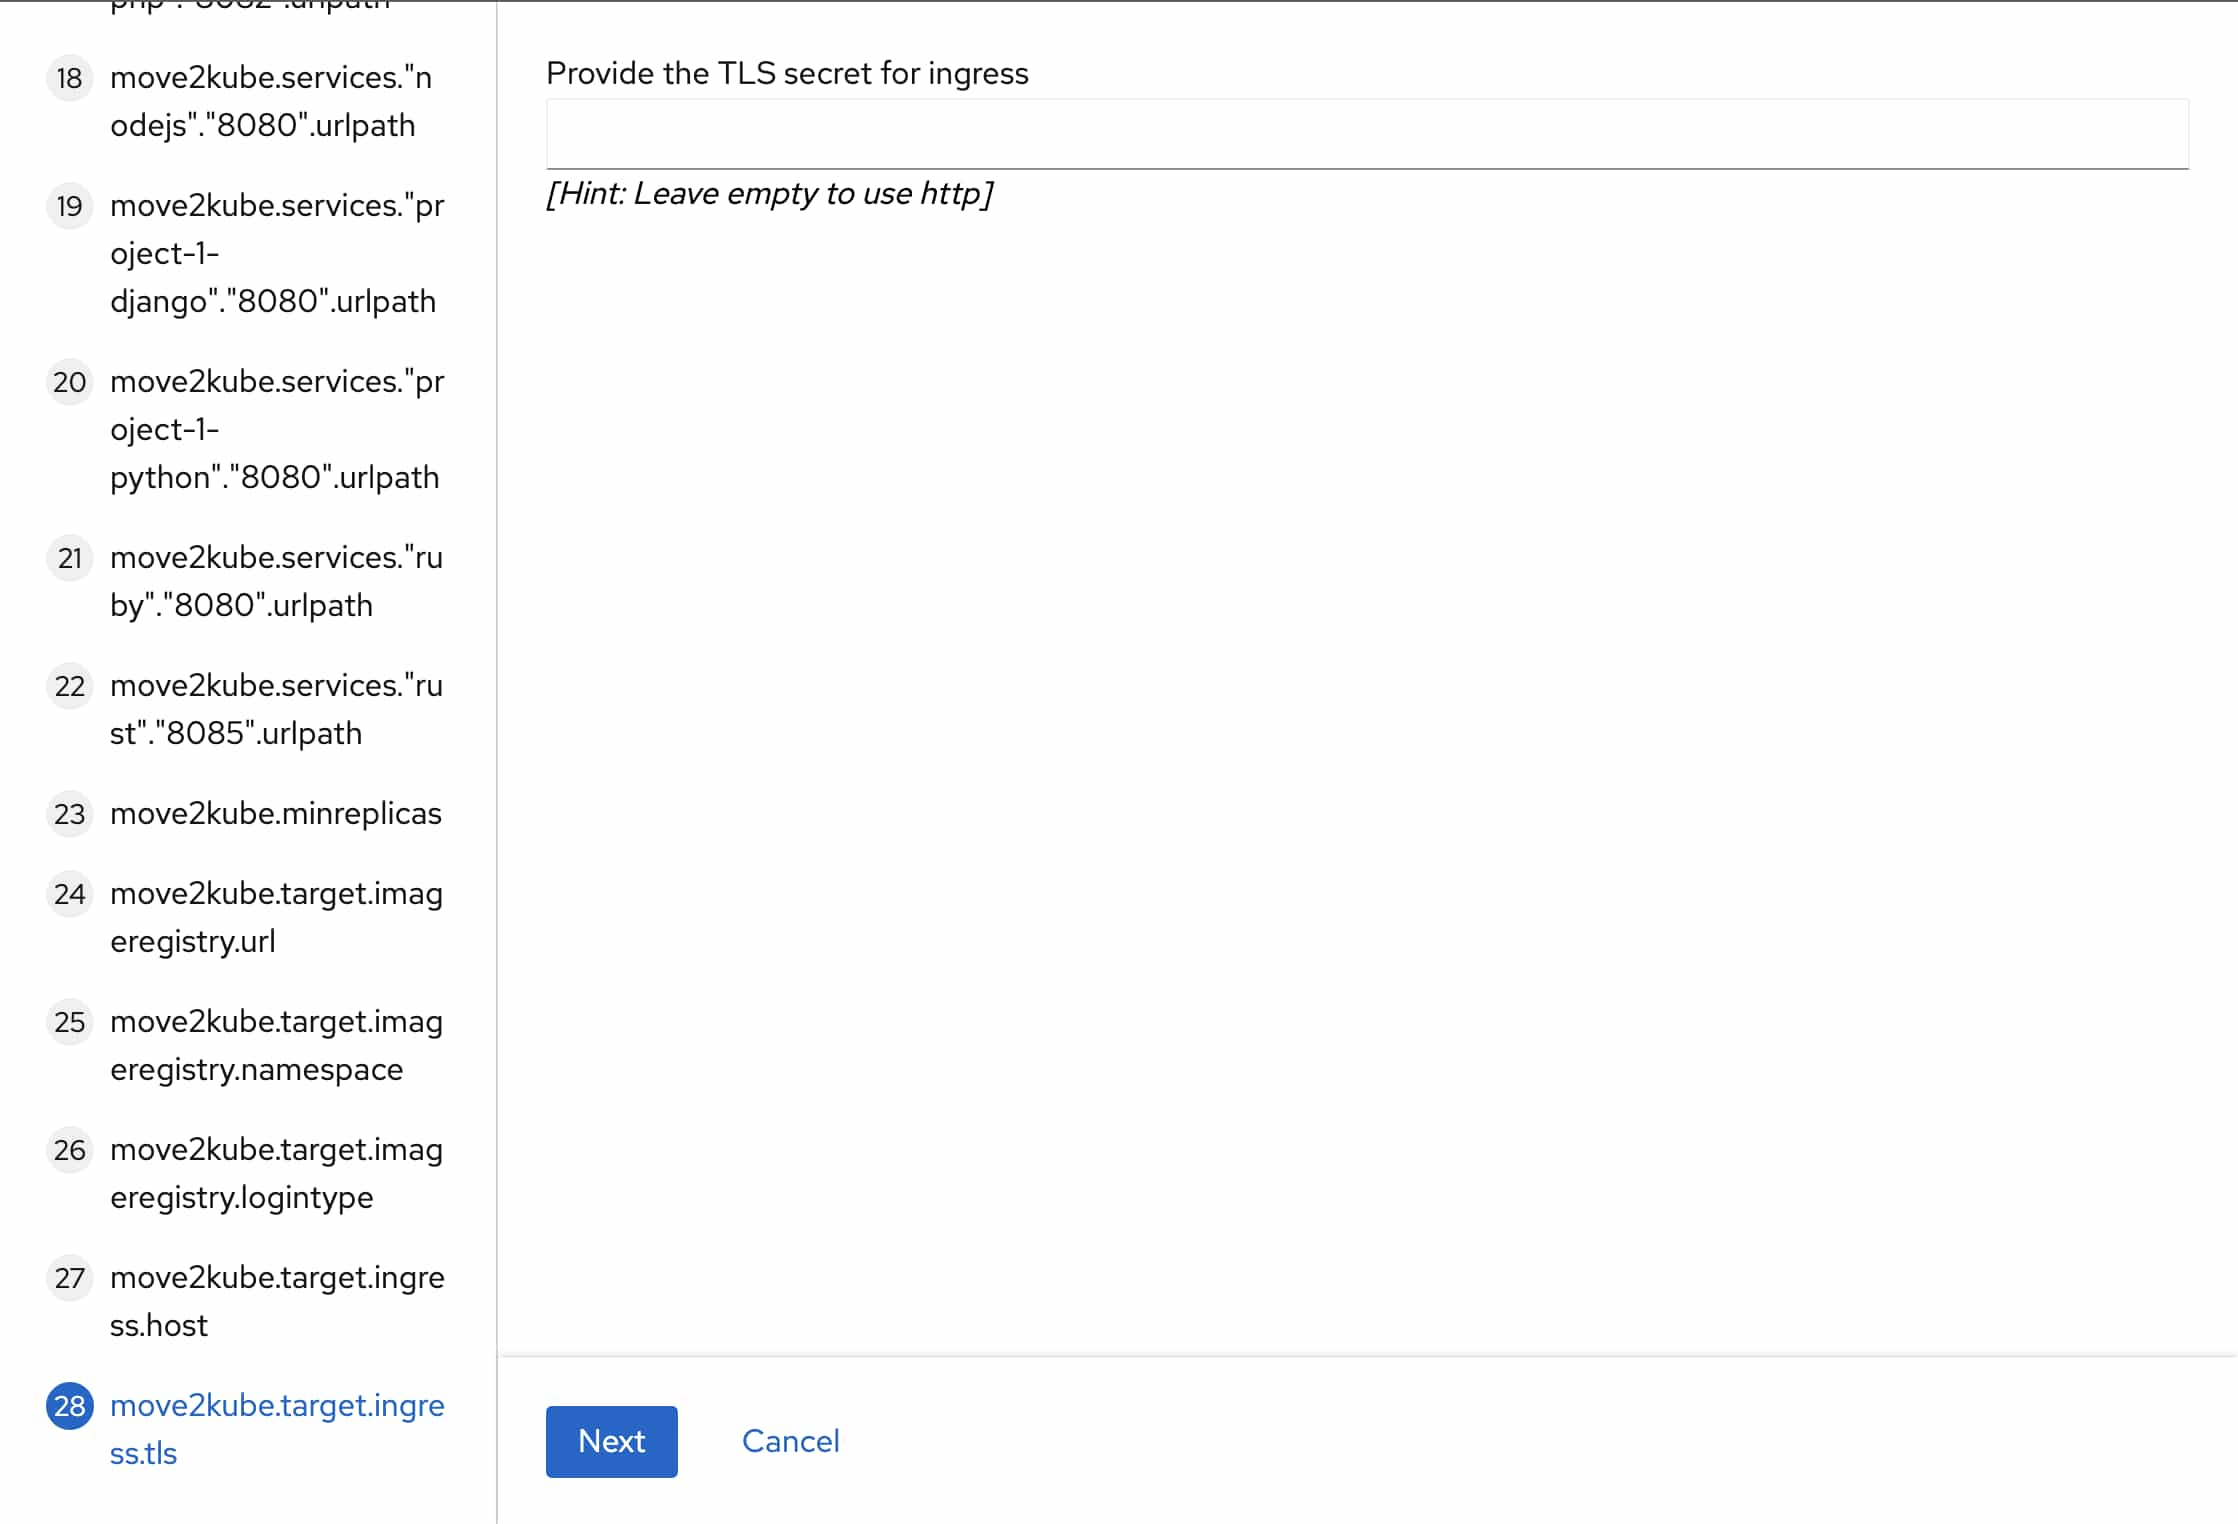
For all other questions we can keep clicking the
Nextbutton and go with the default answers. -
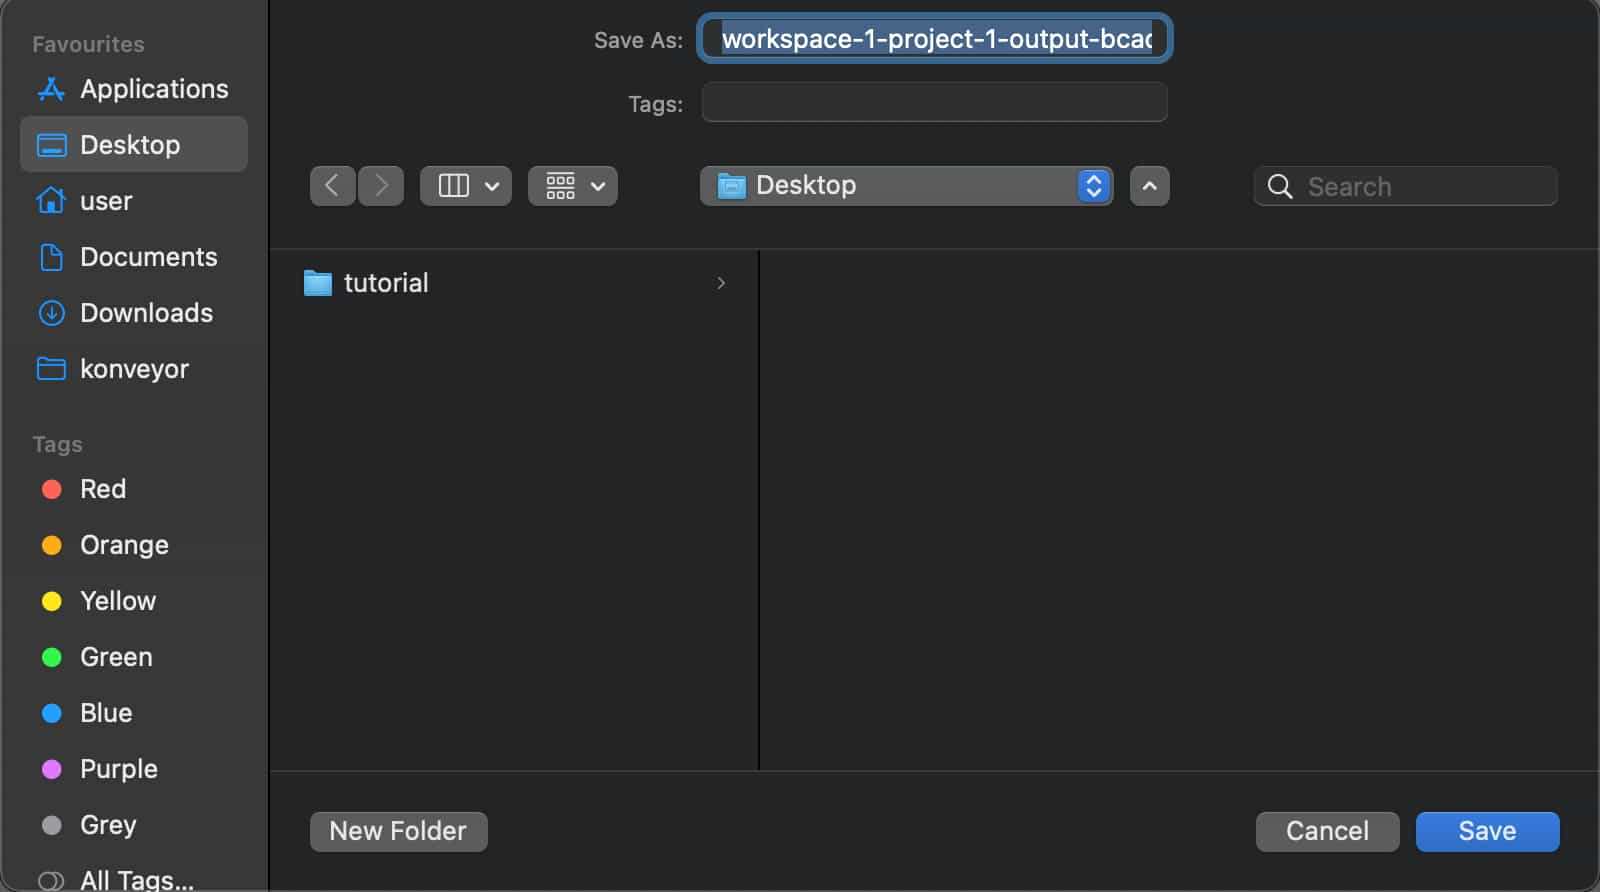
After the questions are finished wait a few minutes for it to finish processing. Once it’s done, you can click on the output to download the generated artifacts as a zip file (here
workspace-1-project-1-output-bcad1e64-23d0-4ea1-ad47-9d060e870b4f.zip), extract it and browse them. The applications can now be deployed to Kubernetes using these generated artifacts.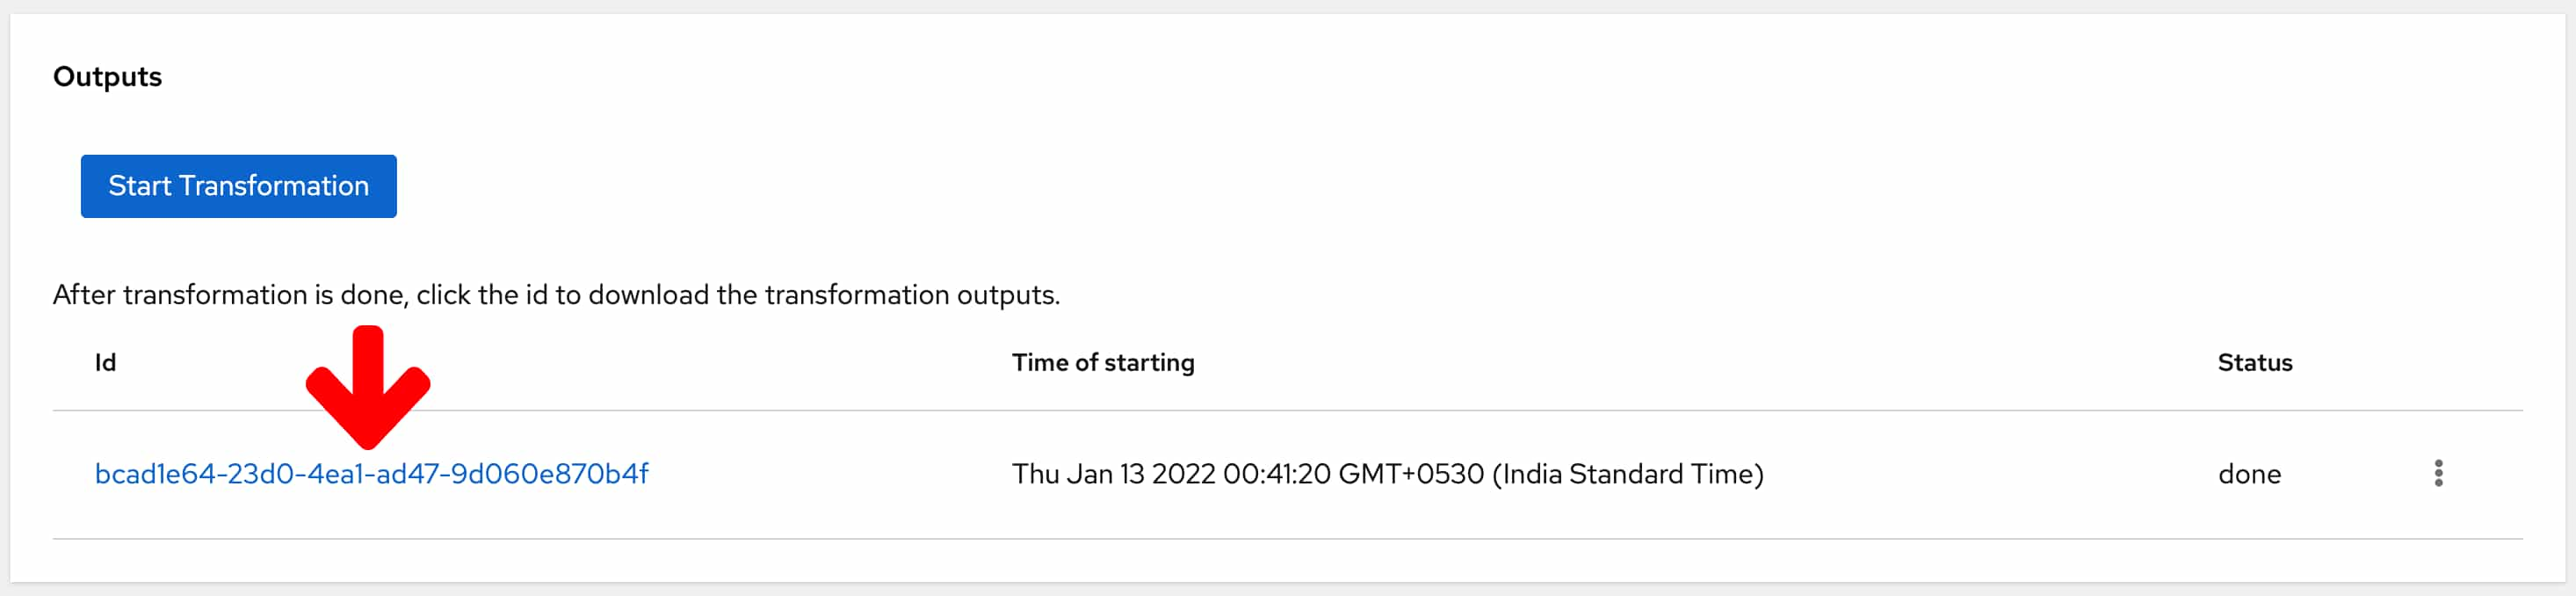
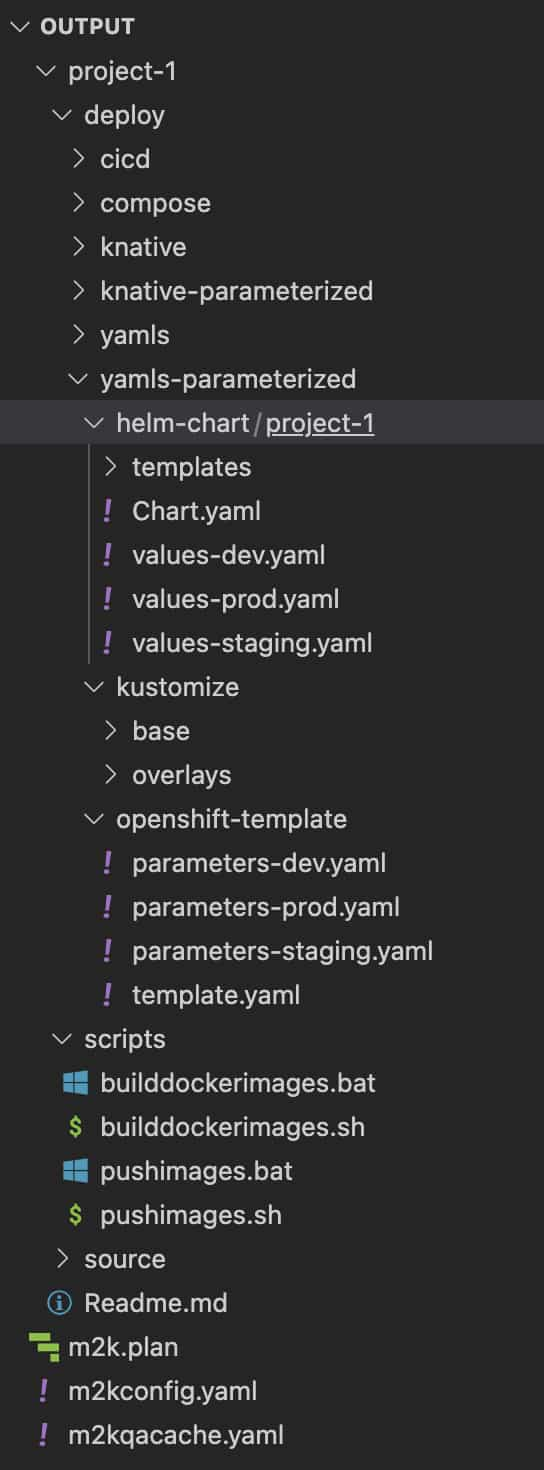
Now we can build and push the container images and deploy to Kubernetes using the output we downloaded.
The steps for doing that are same as for the CLI tutorial.
Conclusion
We have seen how easy it is to do a transformation using the UI. All the features of the Move2Kube CLI are available through the UI as well. In addition, the UI can be hosted on a common server and used by different teams using different workspaces. It also has authentication and authorization capabilities to restrict access to particular workspaces.